Roast Beef (Topside / Silverside)
Shop Anova
Anova
Pro-level cooking techniques made simple.
Ingredients for 6
1.5kg Topside Beef (Top Round)
Maldon Sea Salt (or any salt)
Cracked Black Pepper
Beef OXO Cubes / Bouillon Cubes (optional)
Thyme (or other herbs)
15ml Avocado Oil (or other oil)
Directions
-
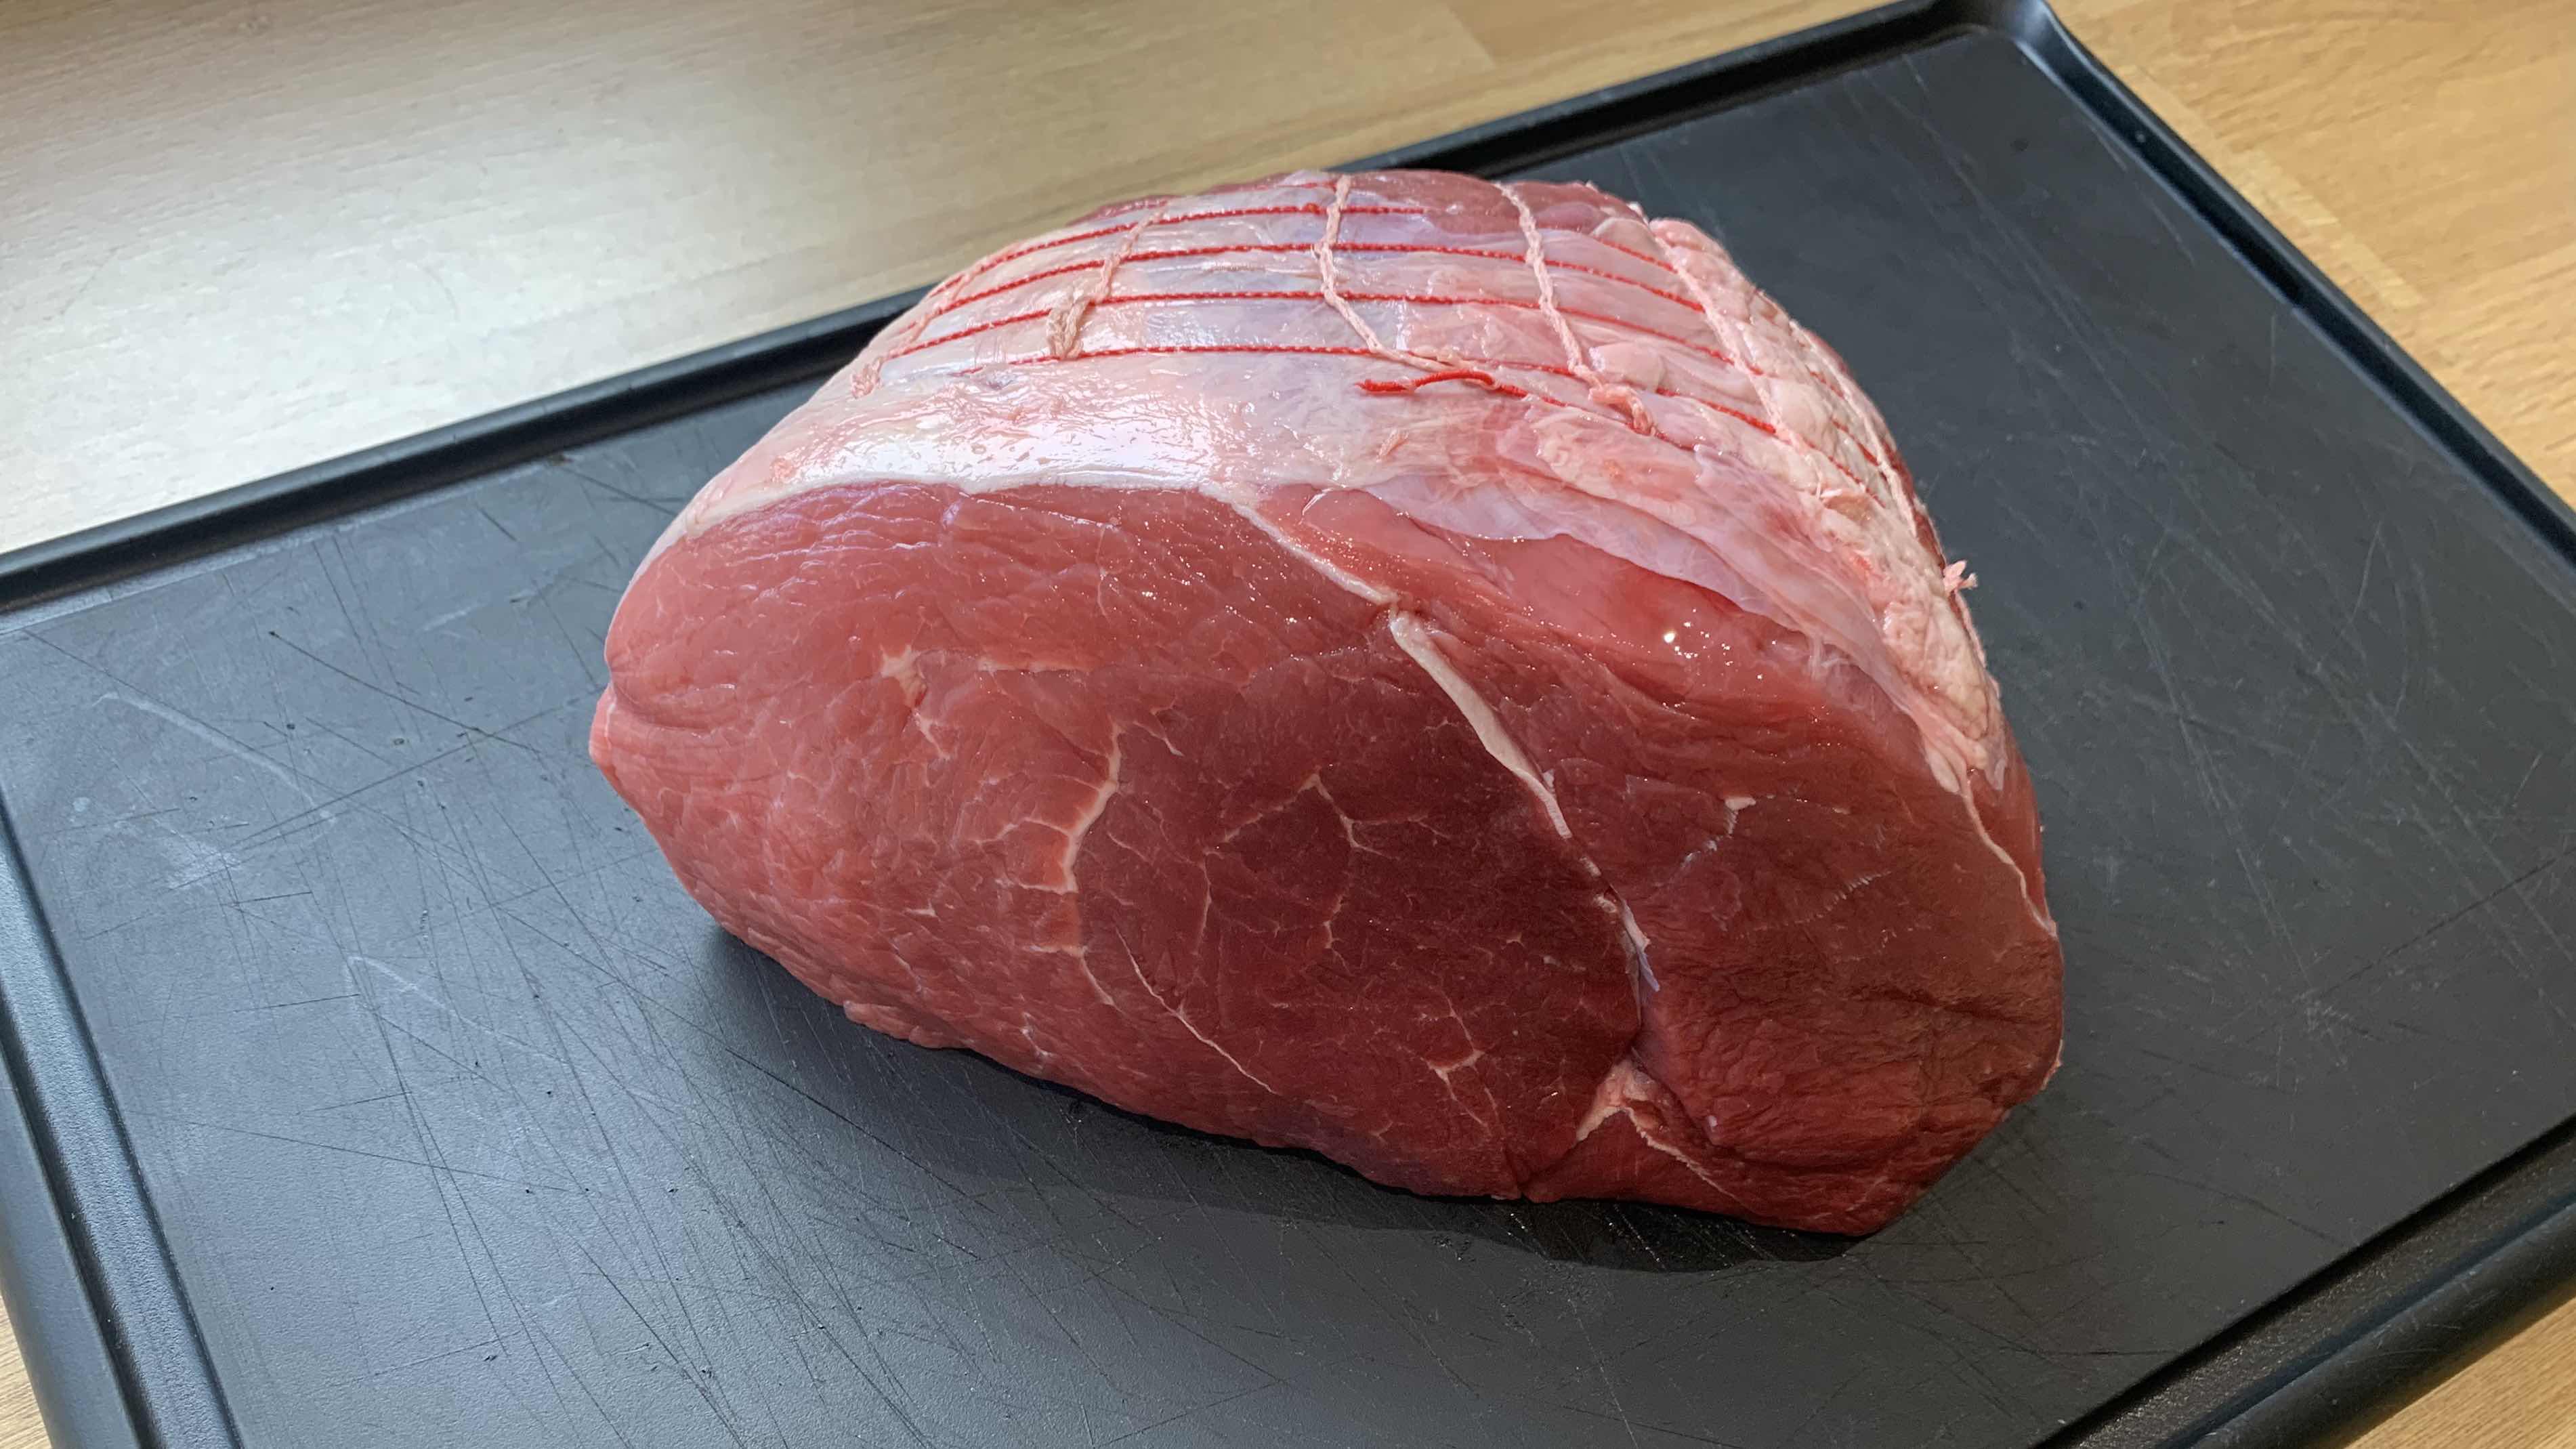
Step 1
Prep - Set Anova to your desired temperature based on required finishing temperature of the beef. See guide above. I like 135° and 9 hours. While the water is heating up, remove the beef from the fridge.
-
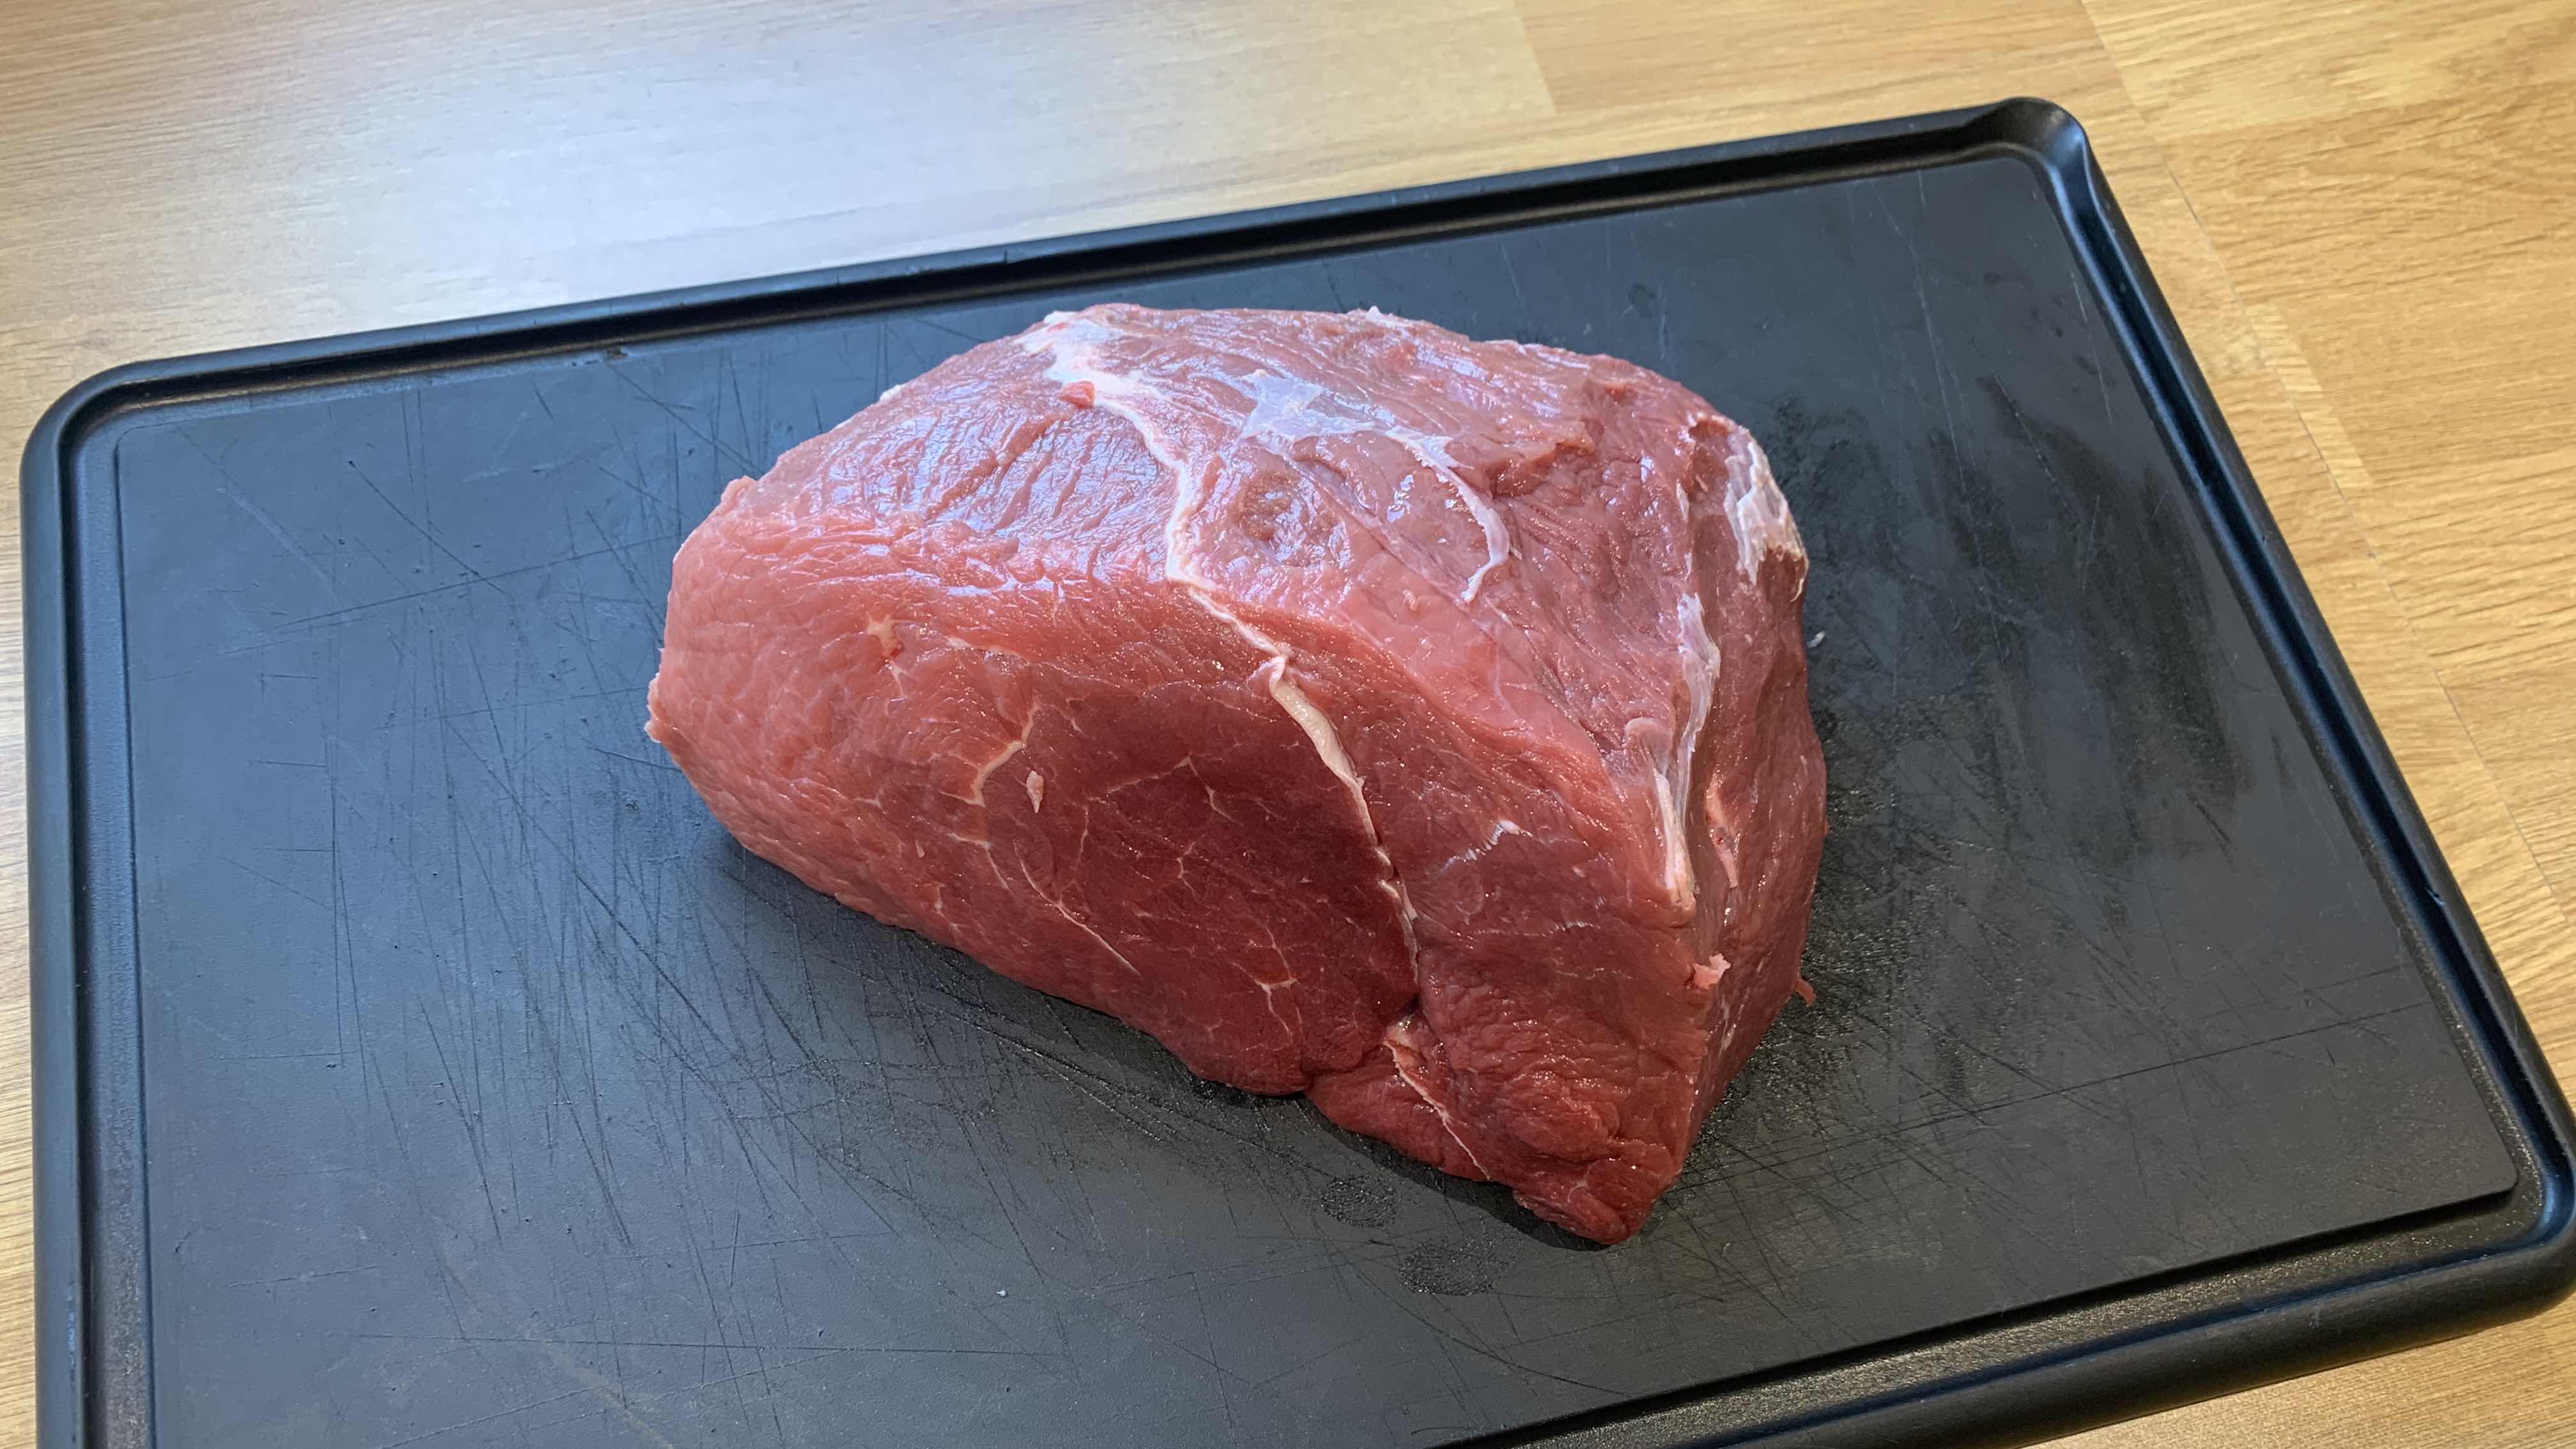
Step 2
Optional - Trim the joint if required / preferred
-
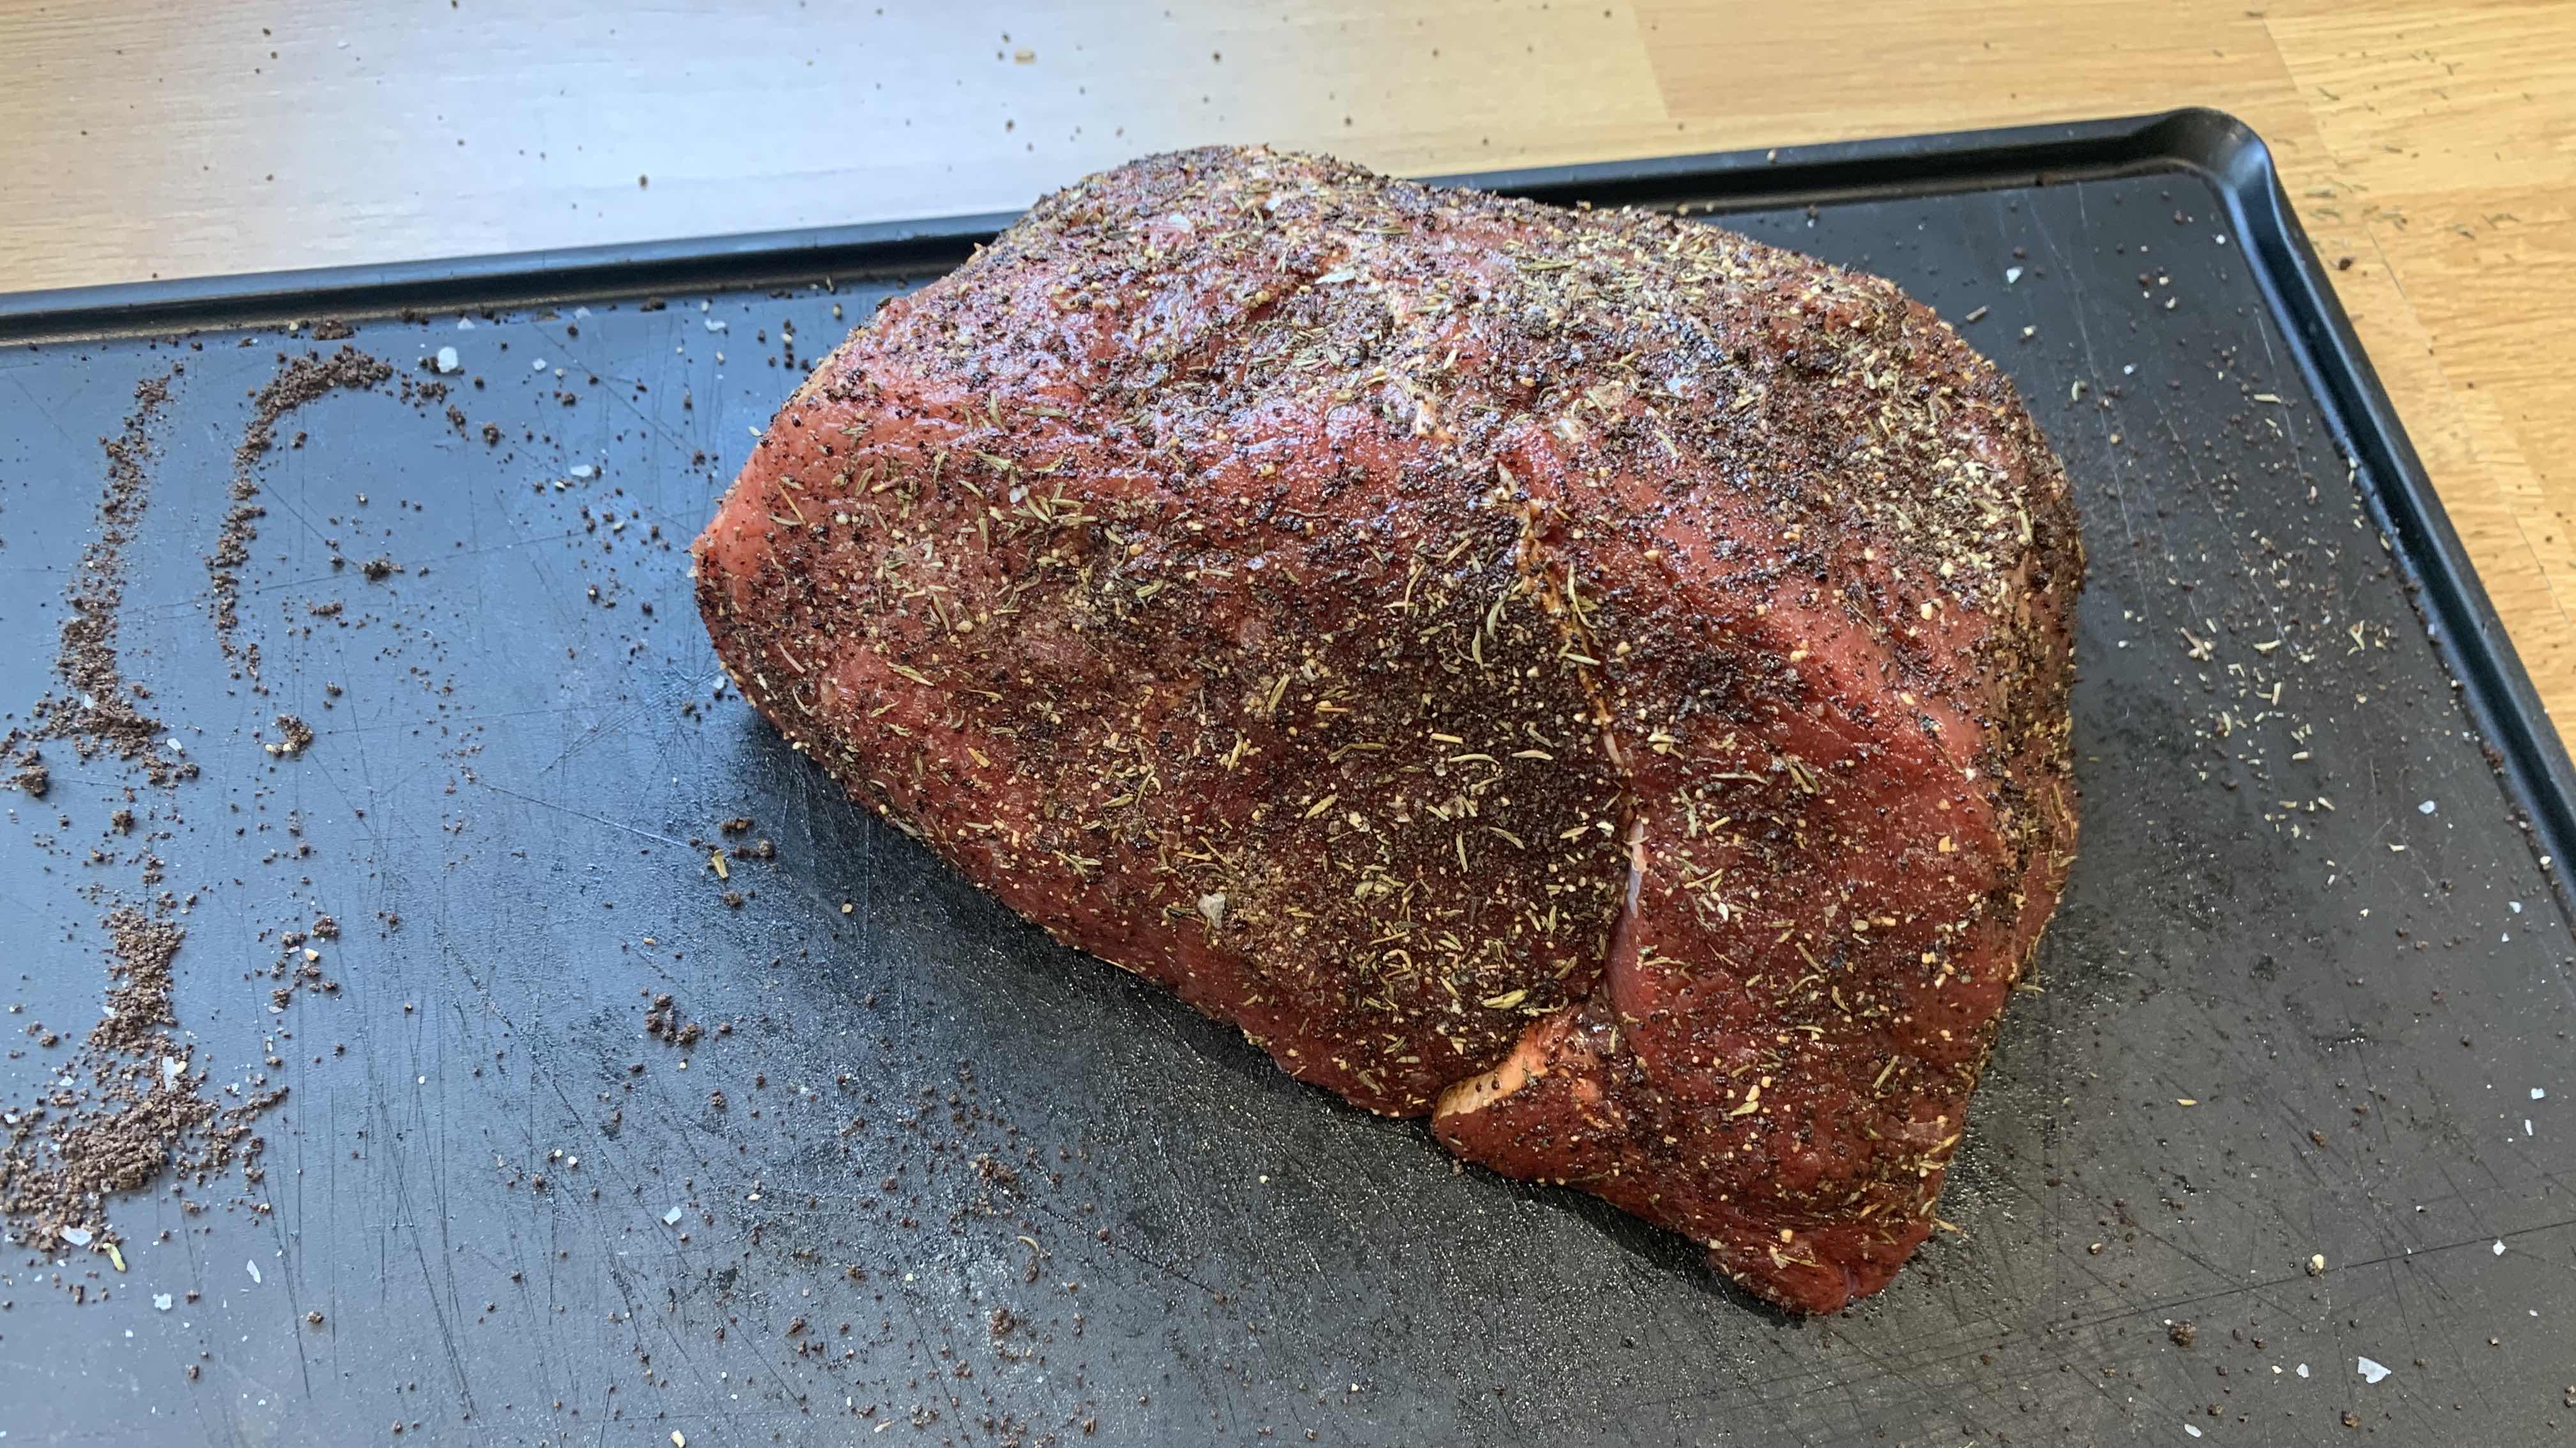
Step 3
Season - Season your beef all over with salt and pepper. Crumble the OXO cubes and rub over the beef. Add thyme (or herbs of your choice).
-
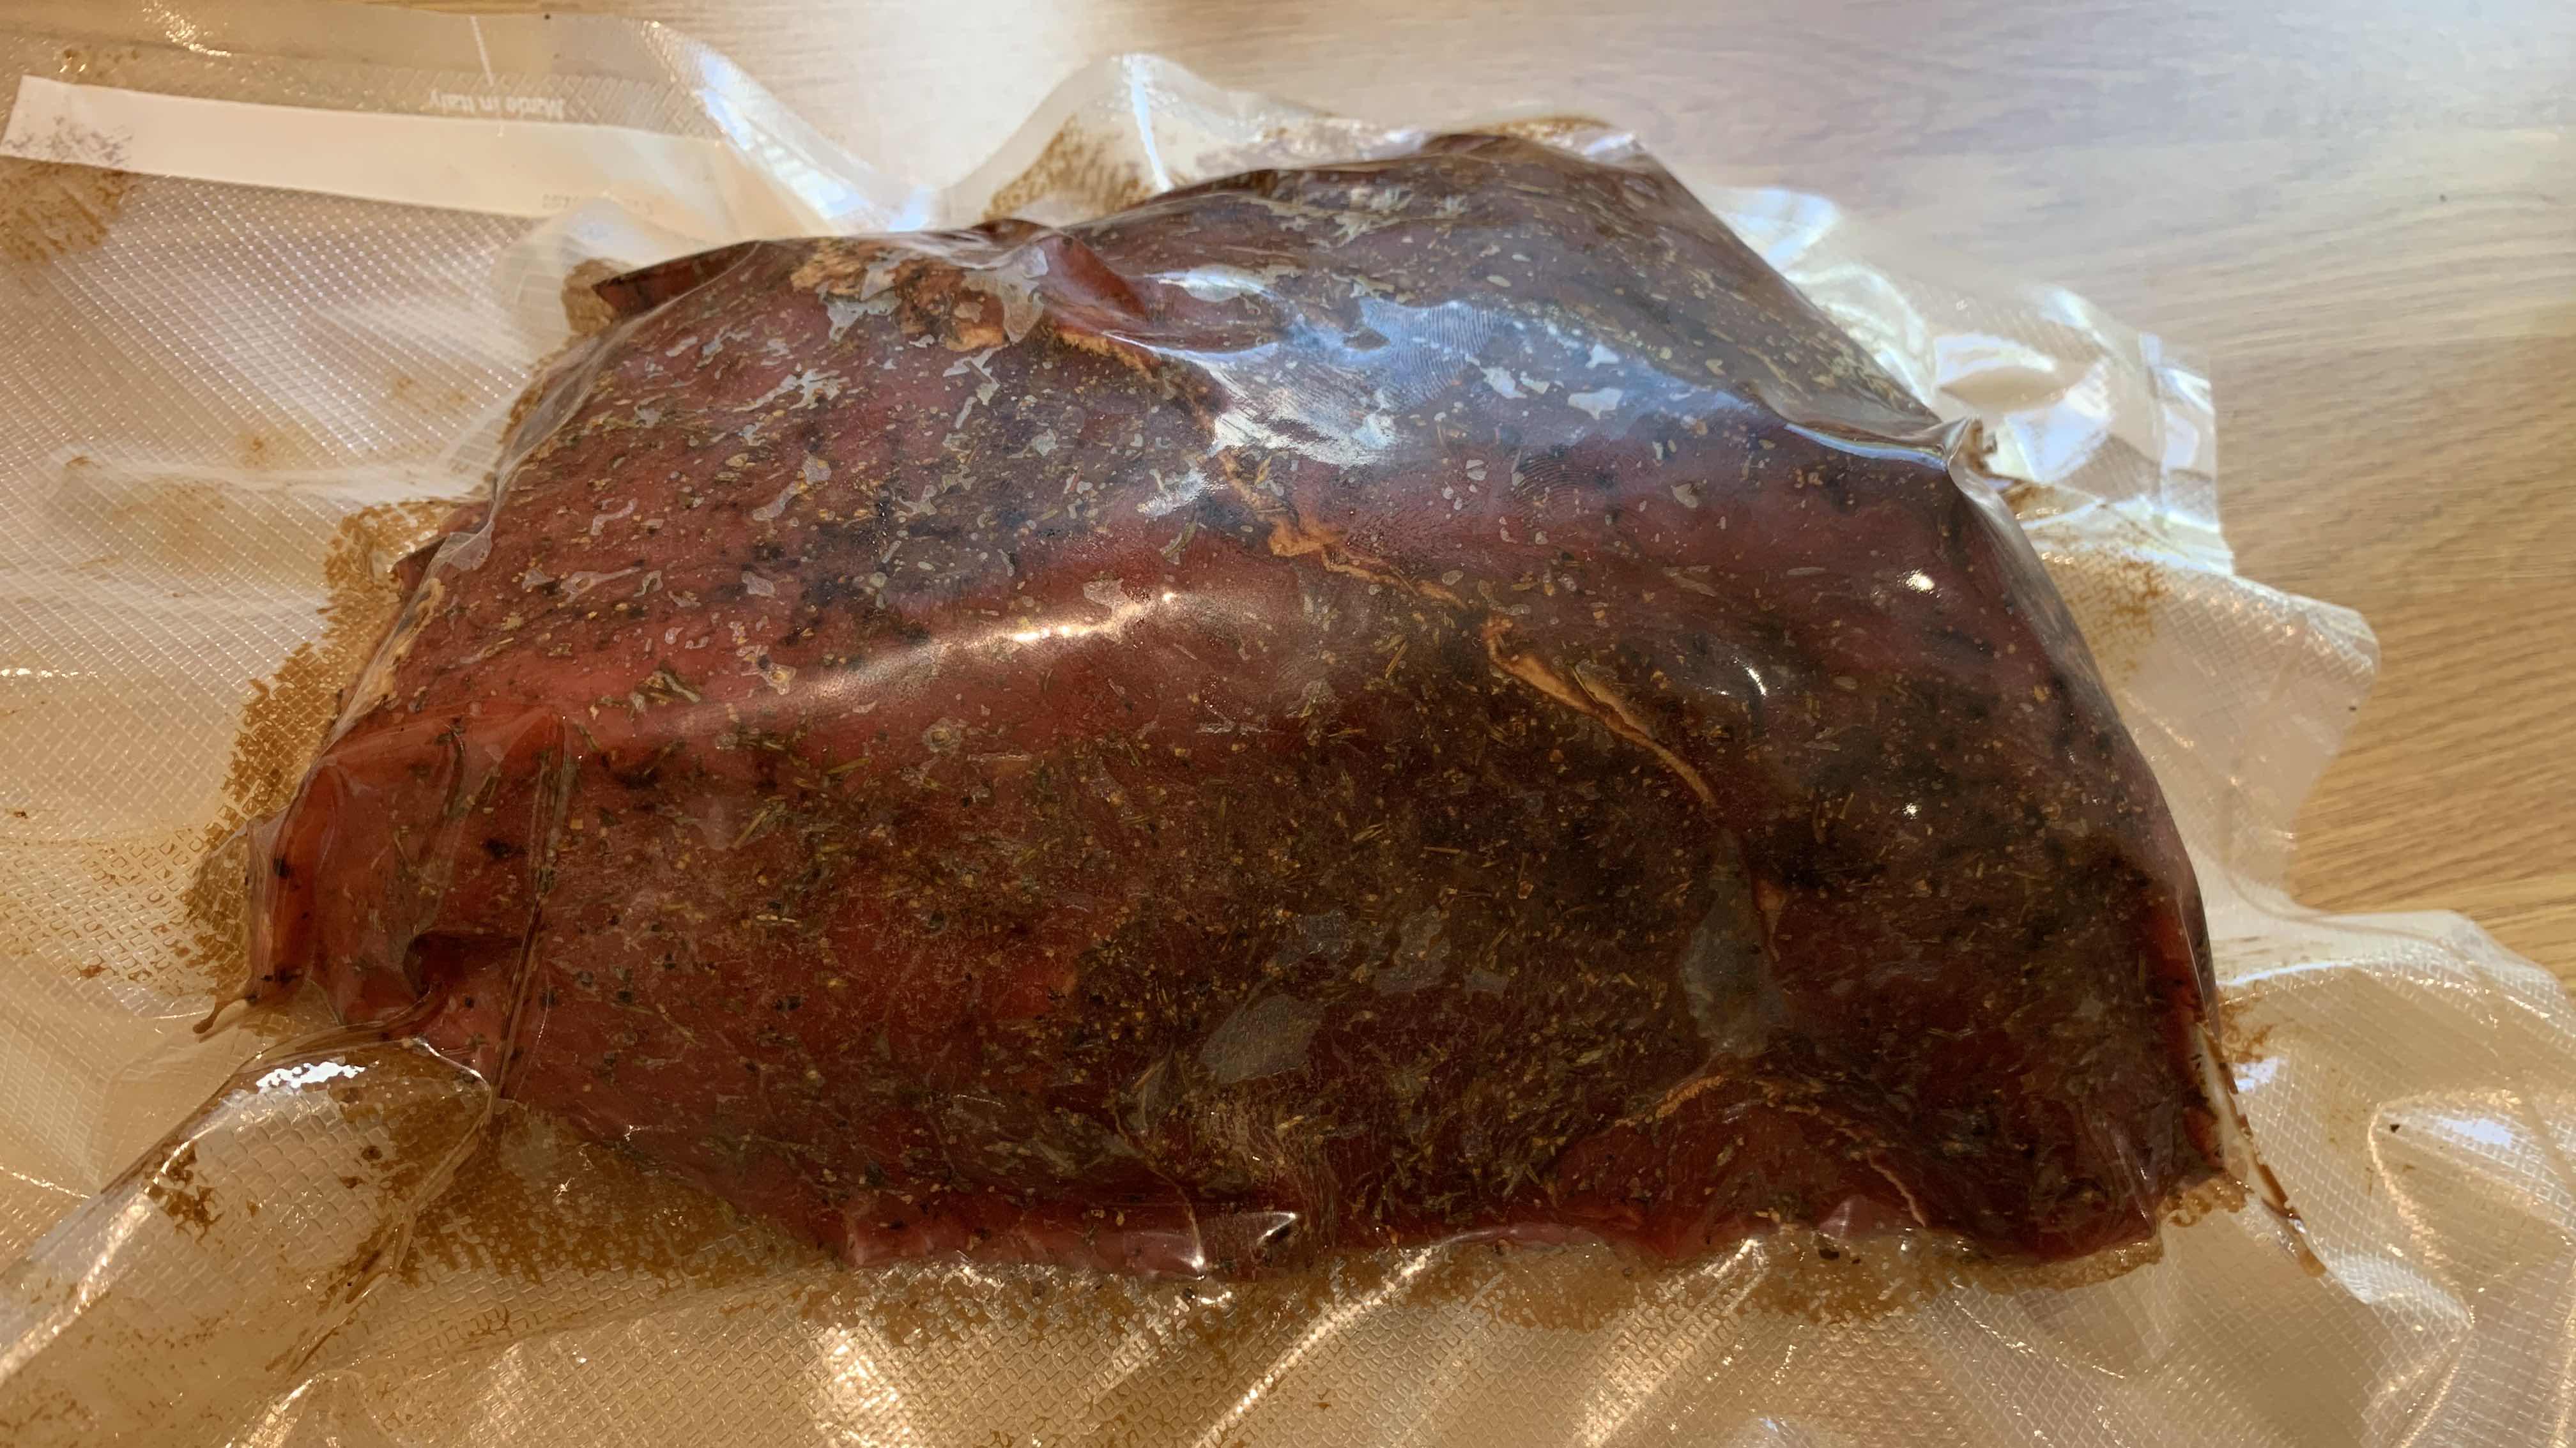
Step 4
Seal - Vacuum seal your beef or place in a food safe zip-lock bag. Once your water bath is at temperature, carefully lower the sealed beef in and let it cook for the recommended time.
-
Step 5
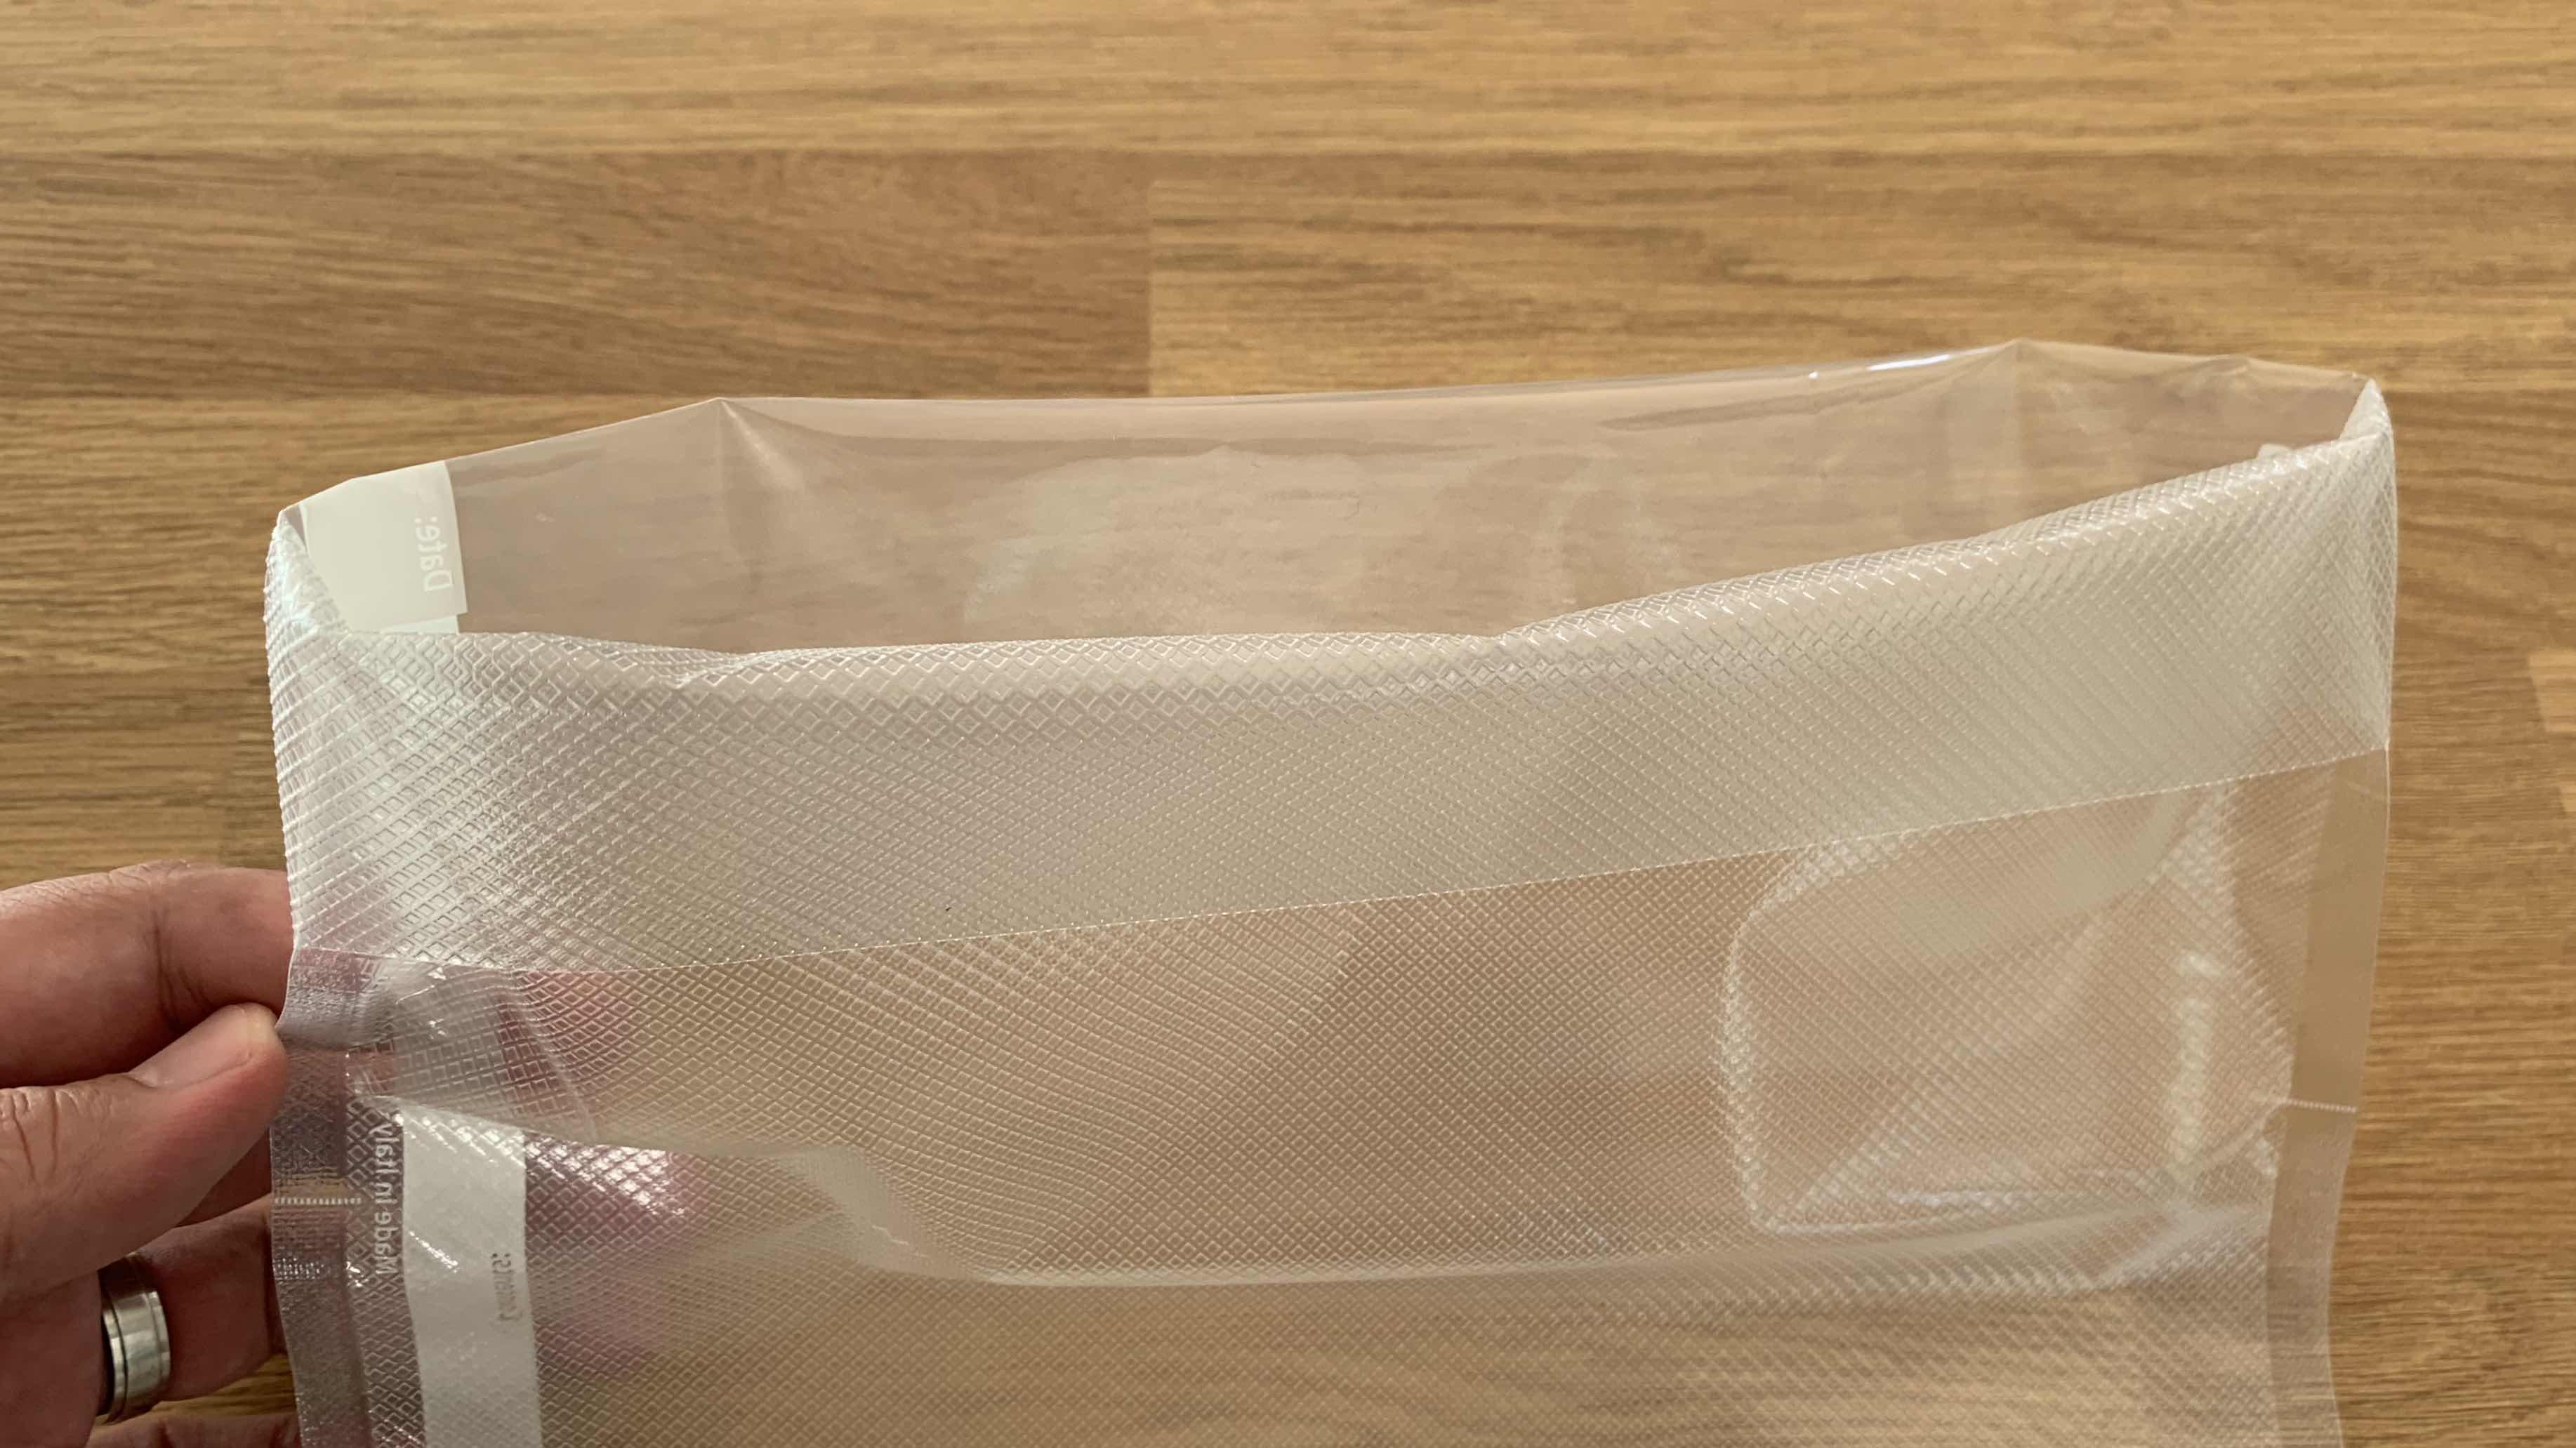
Vacuum Seal Tip - Roll the top of the vacuum bag over itself a small amount. This will ensure the the part of the bag you will seal is clean and clear of food / moisture. Support the meat when you vacuum seal to ensure a clean seal. Zip-Lock Bag Tip - Once you have placed the meat in the bag, squeeze out as much air as possible and zip the bag almost closed. Slowly lower the bag into the water and allow the water to push the air out towards the small gap you left in the zip. Now fully close the zip. Google “ziploc water displacement method” for guidance videos.
-
Step 6
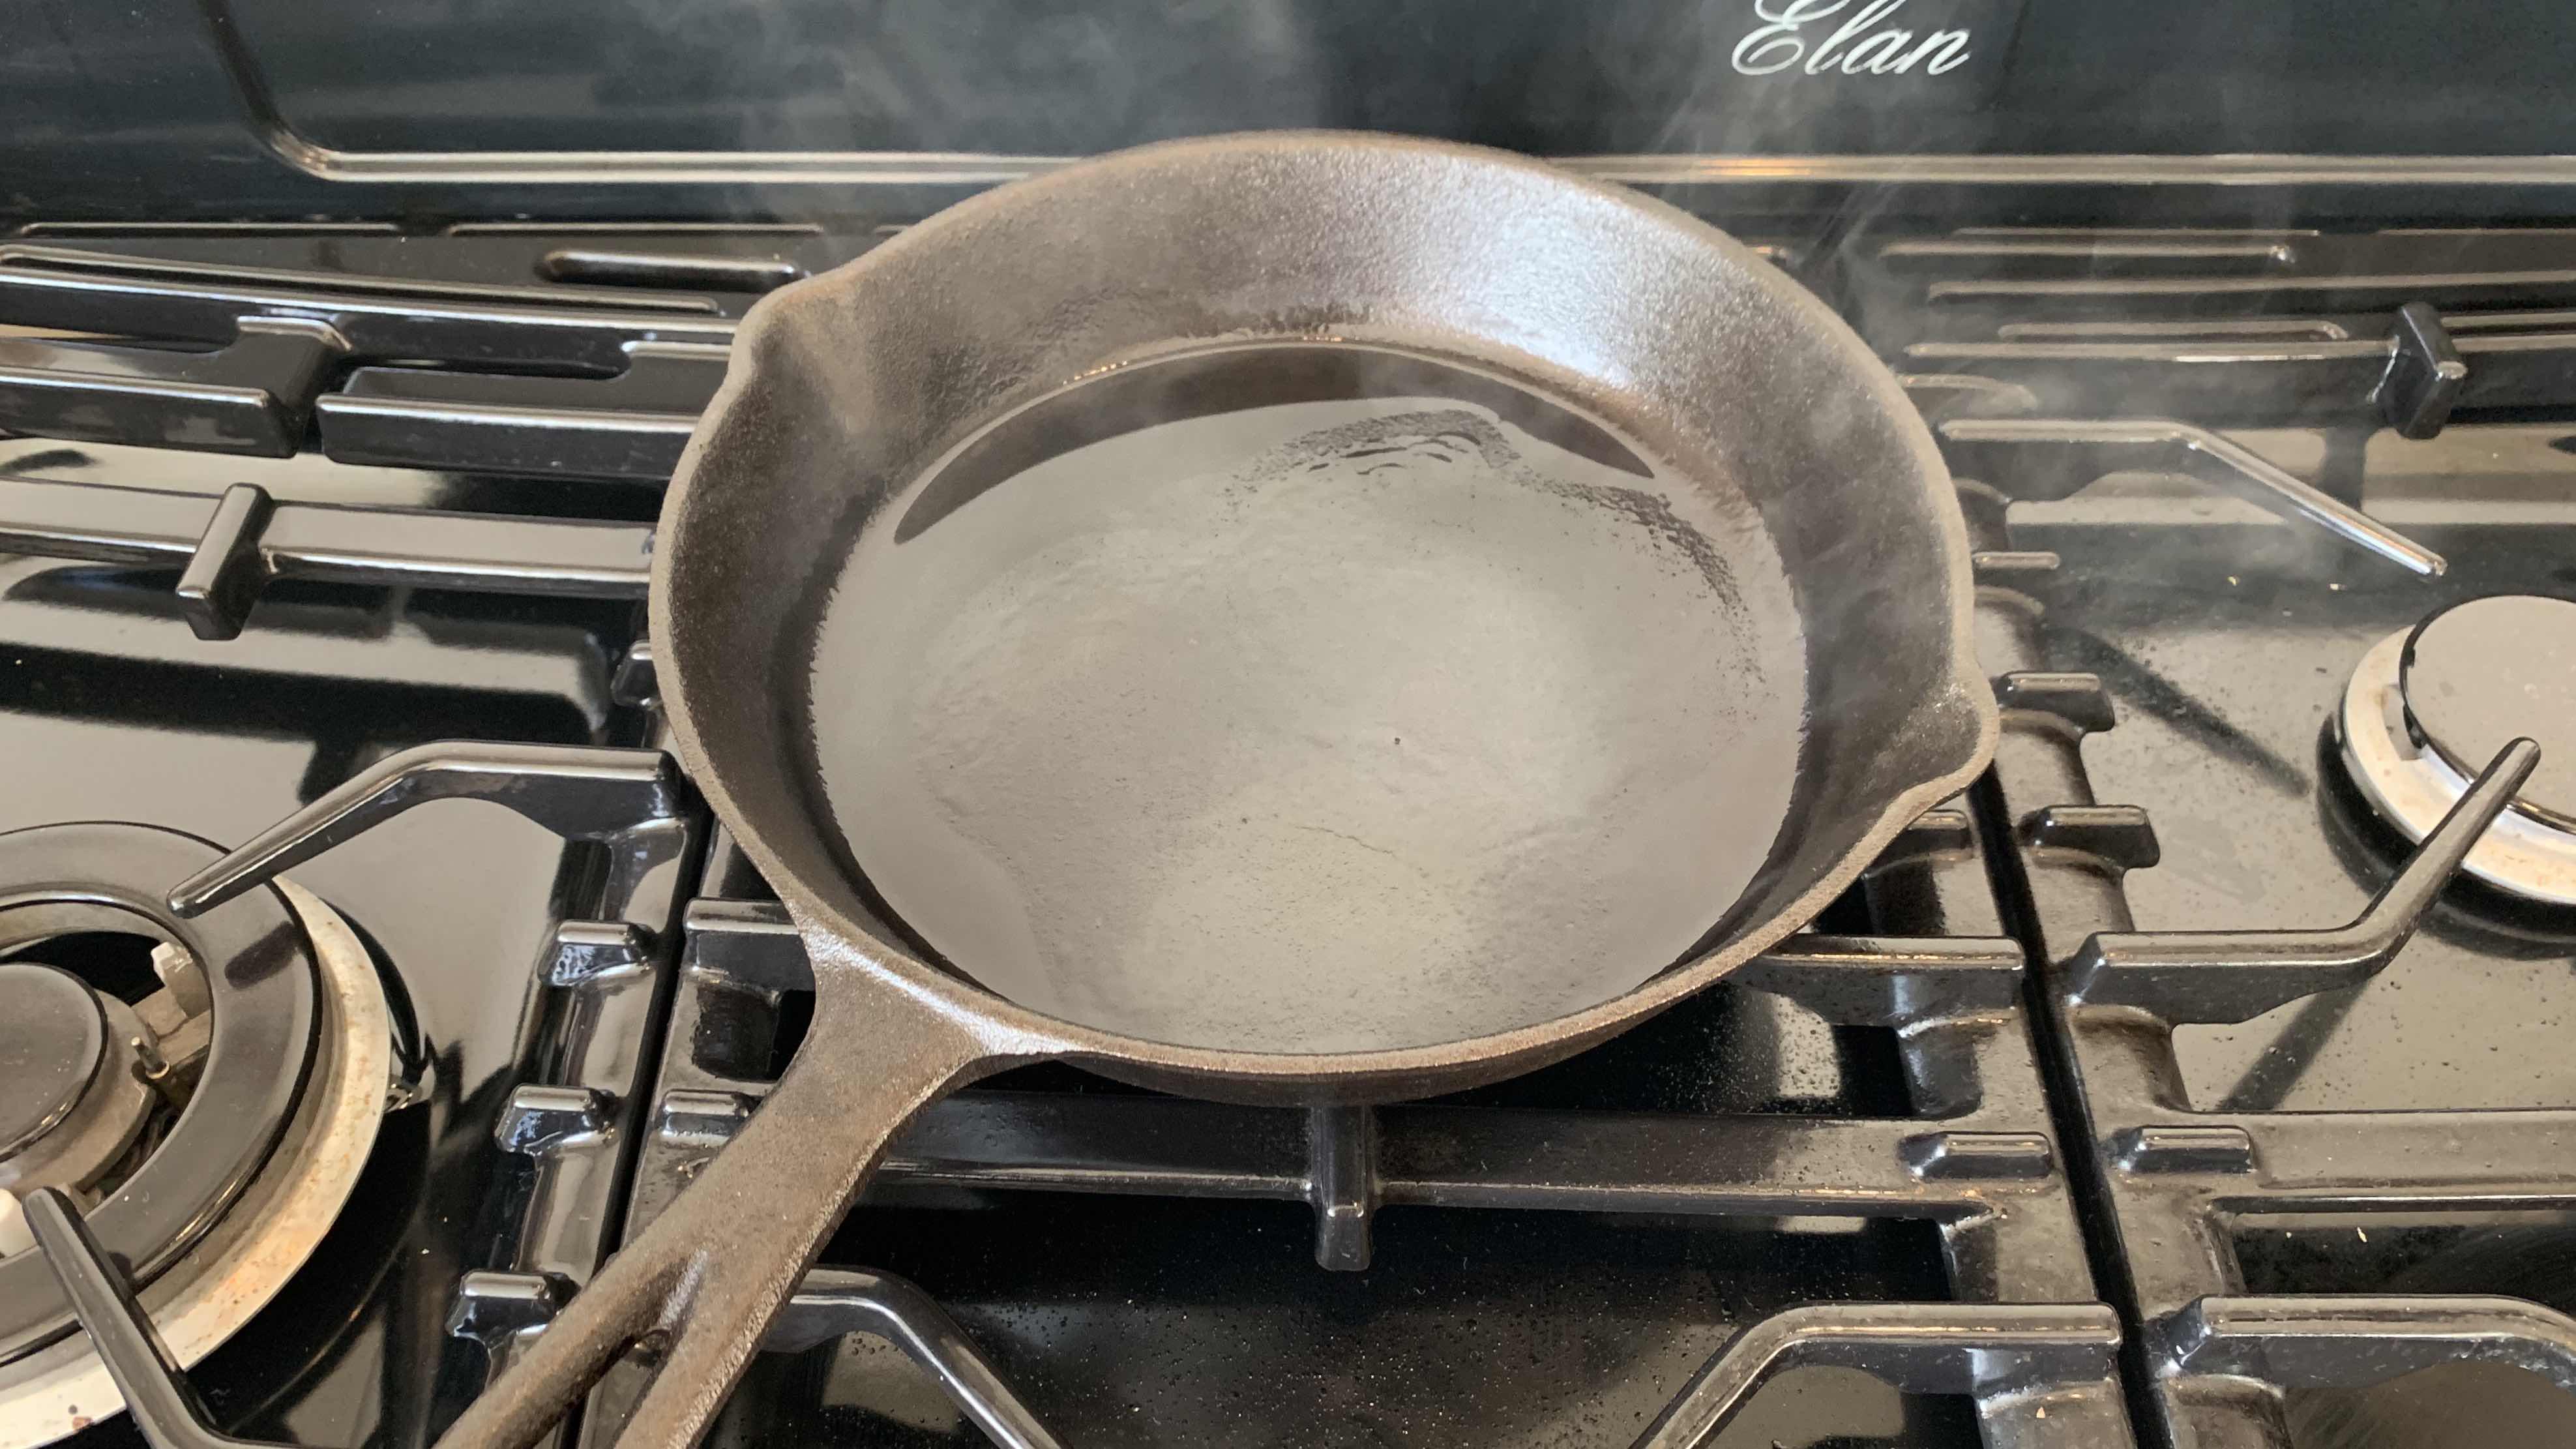
Prep - About 15 minutes before your beef is due to come out of the water bath, pre heat a cast iron skillet on a high heat and add 15ml of avocado oil (or vegetable / canola oil etc).
-
Step 7
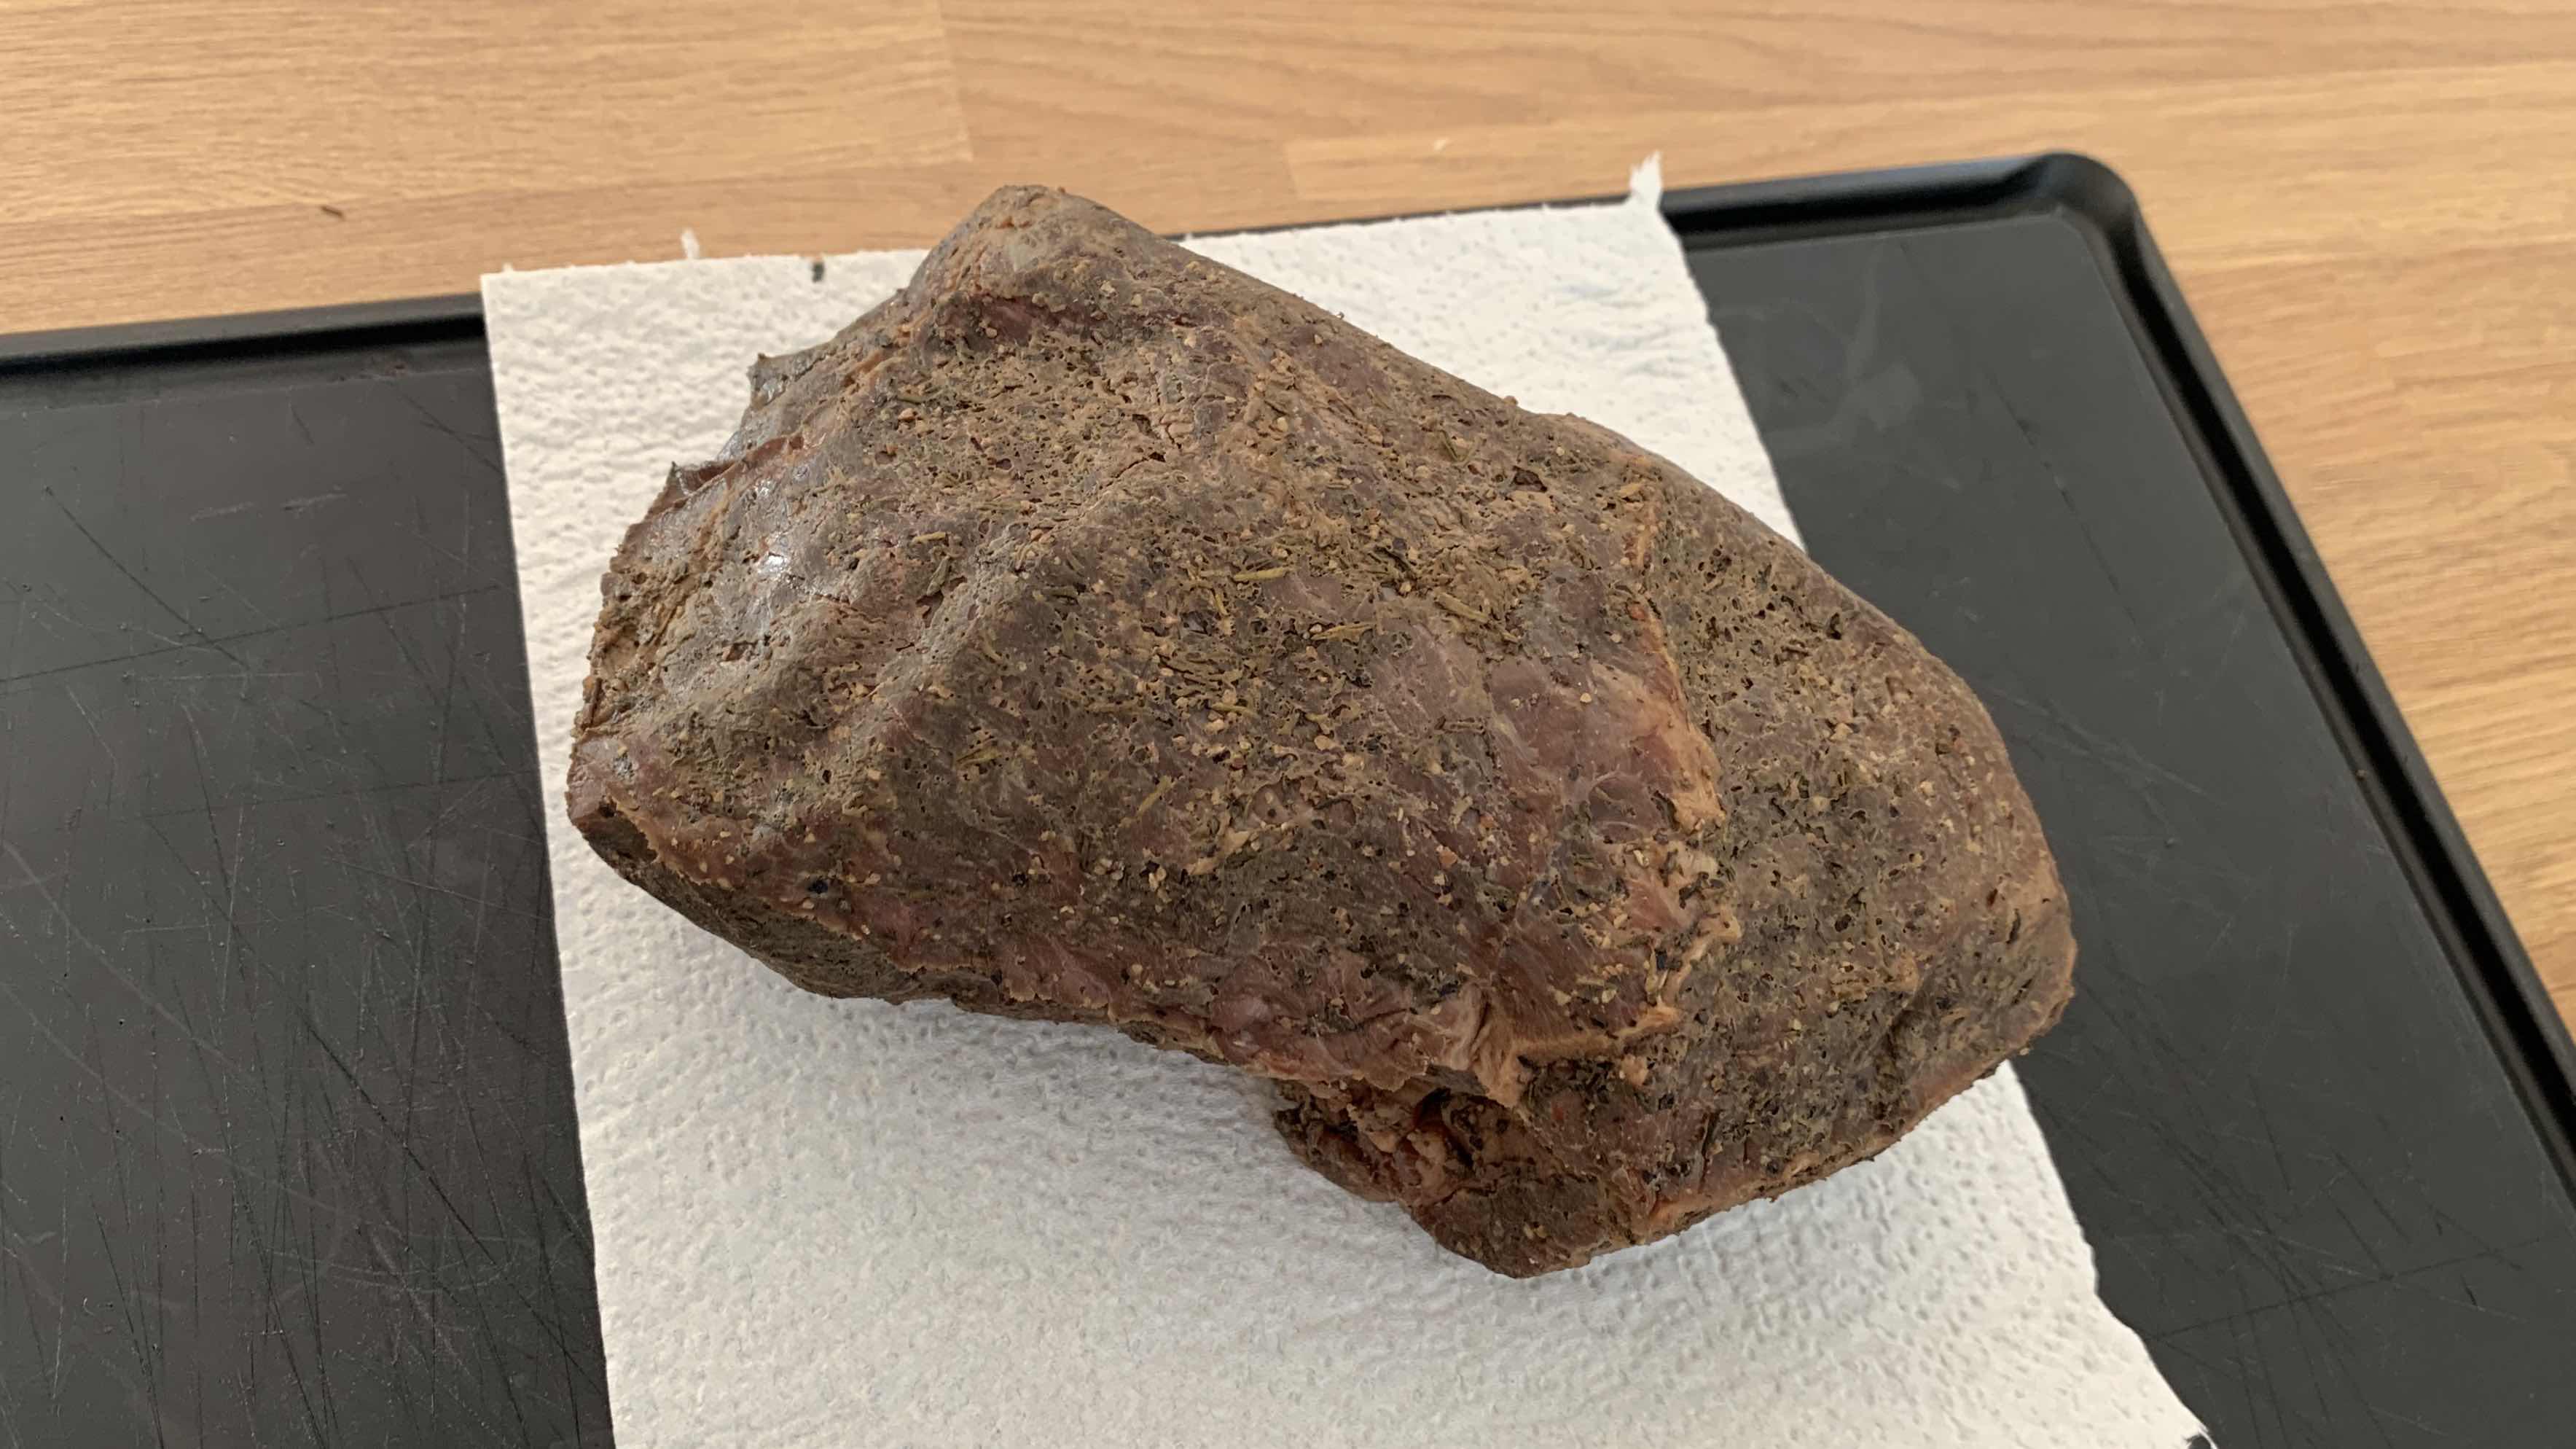
Remove - When you are ready, carefully remove the meat from the water bath and cut / zip open the bag ensuring you keep the juices in the bag if you want to use them for a gravy / au jus. Place the beef on a plate lined with paper towels and pat the whole joint as dry as possible. Re-season with salt and pepper if you wish.
-
Finishing Steps
-
Step 0
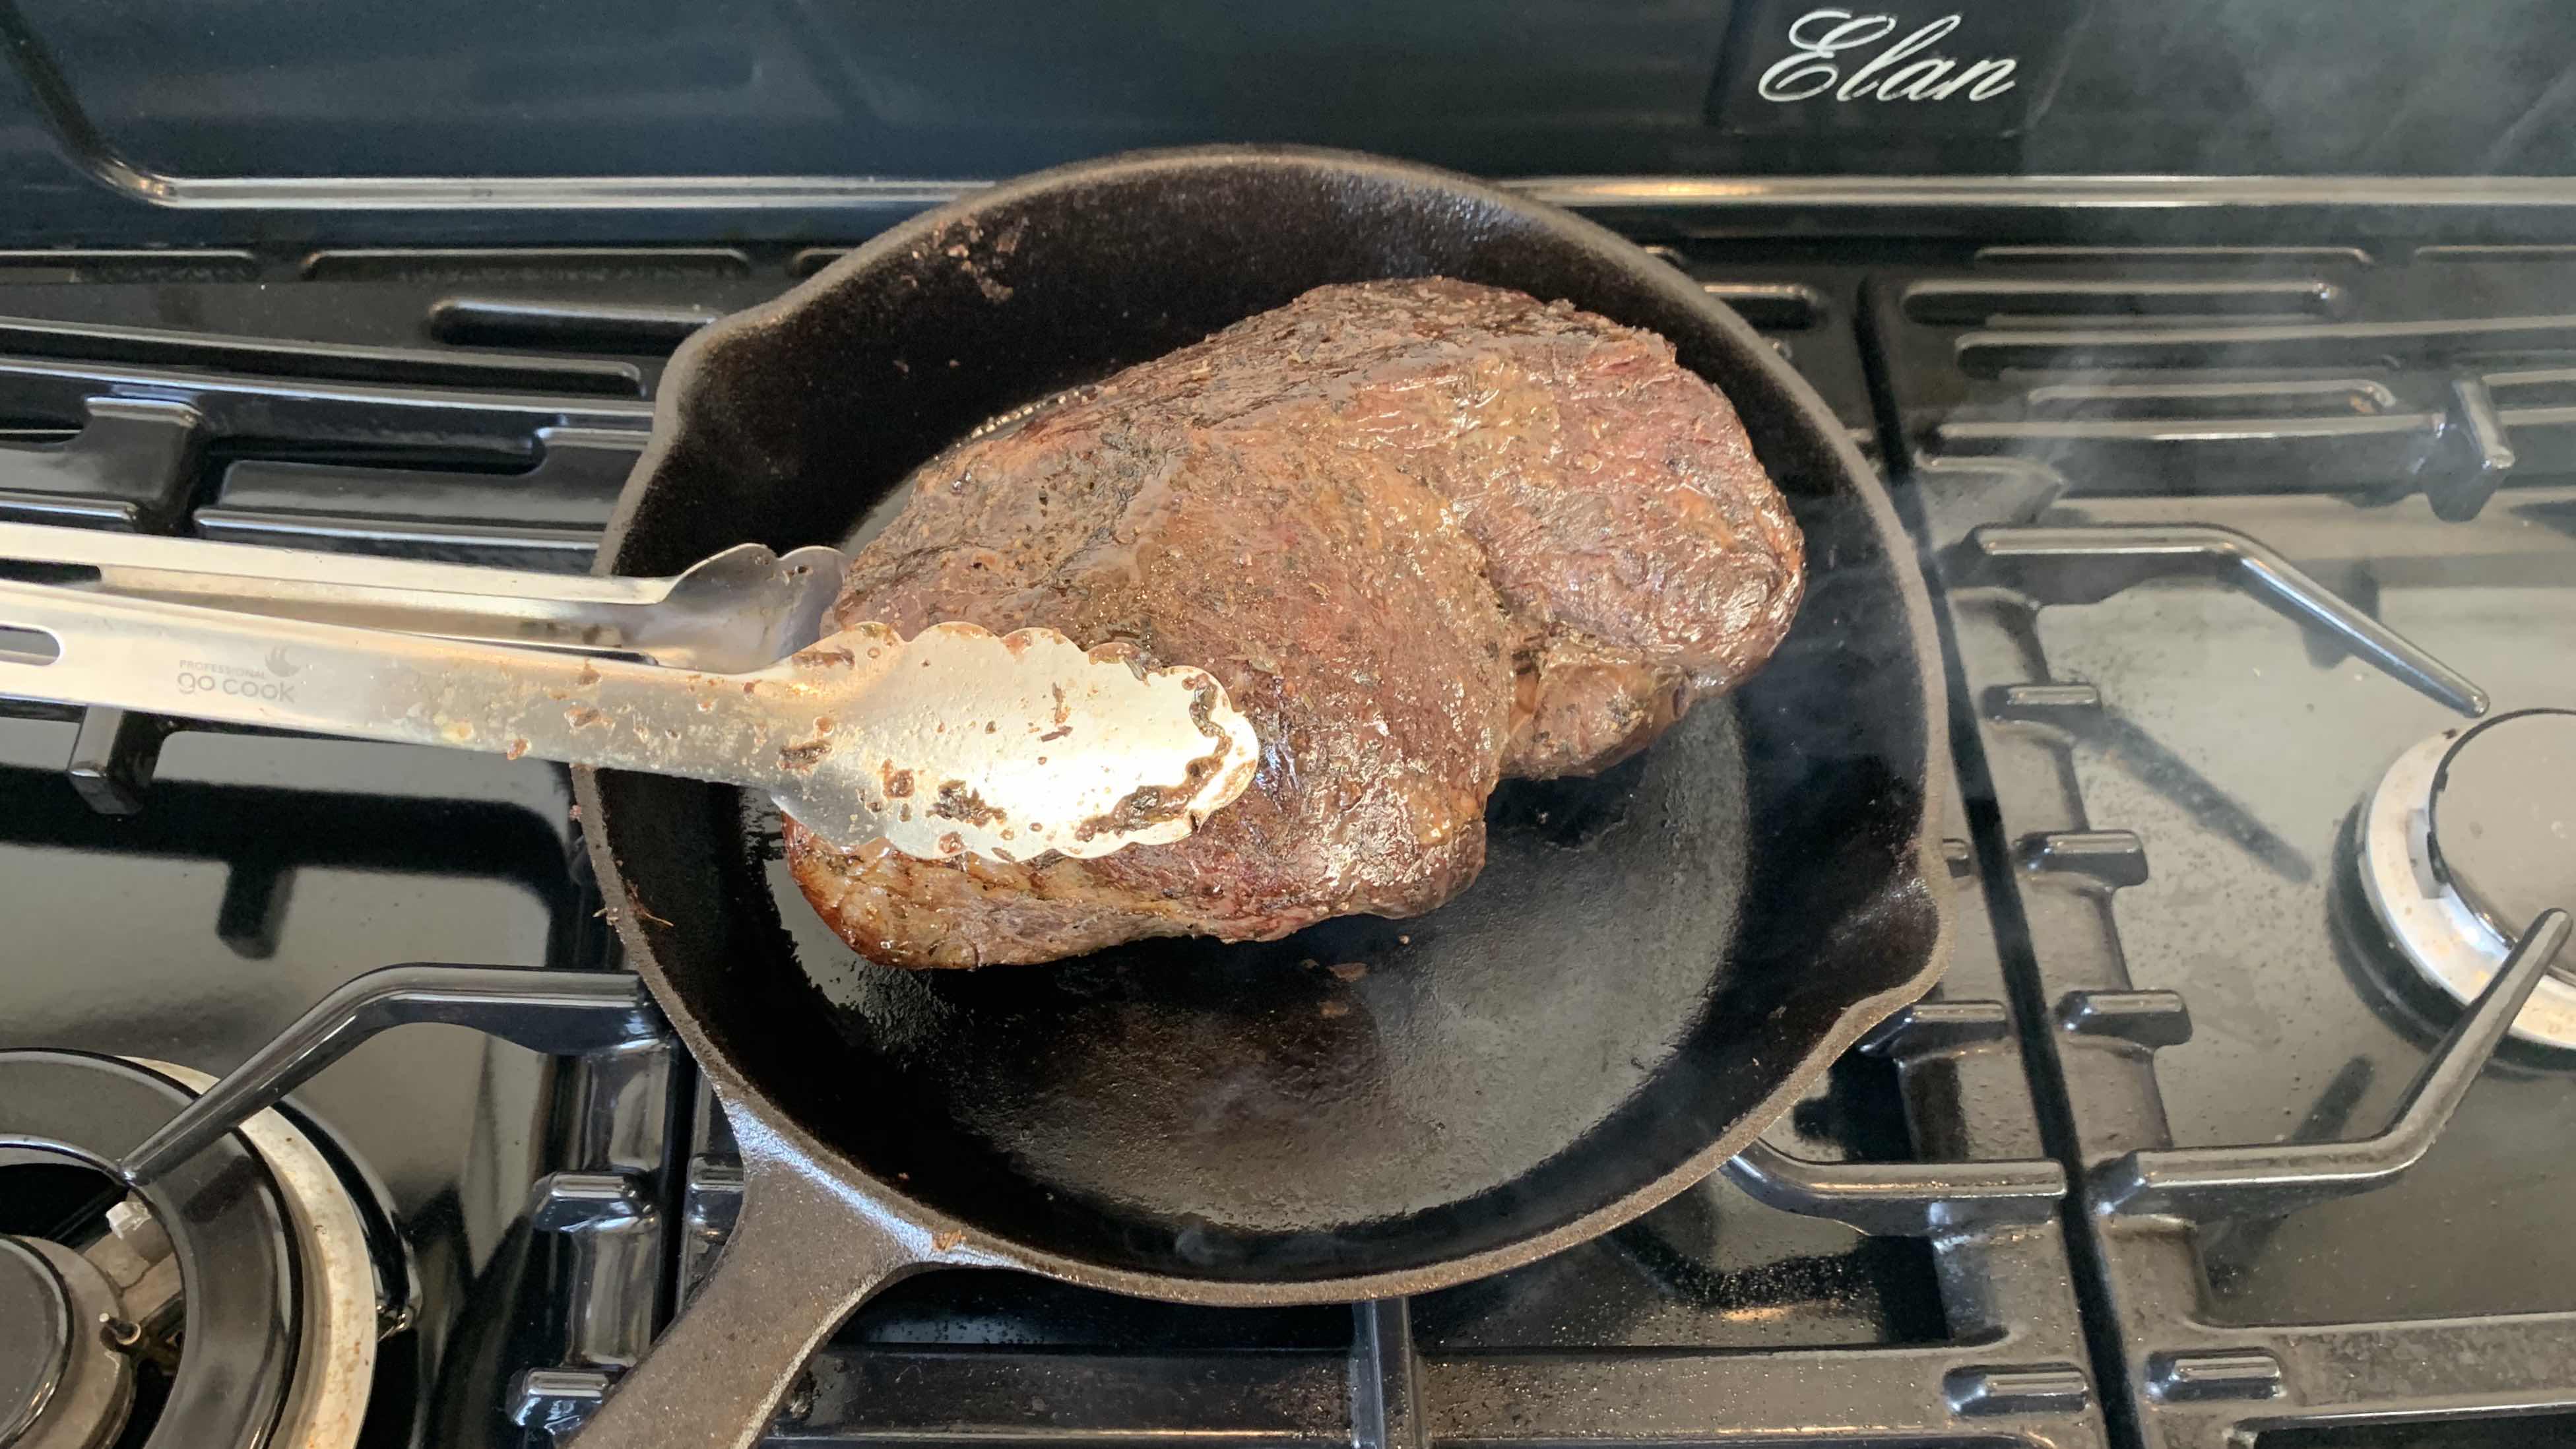
Sear - When the cast iron skillet is fully heated and the oil is shimmering, carefully lay the beef in the pan (laying away from yourself to prevent splashing). Sear the entire joint until it is golden and brown, turning it using tongs to ensure you sear all sides. You may need to press down to ensure good contact, and can use the sides of the skillet to help.
-
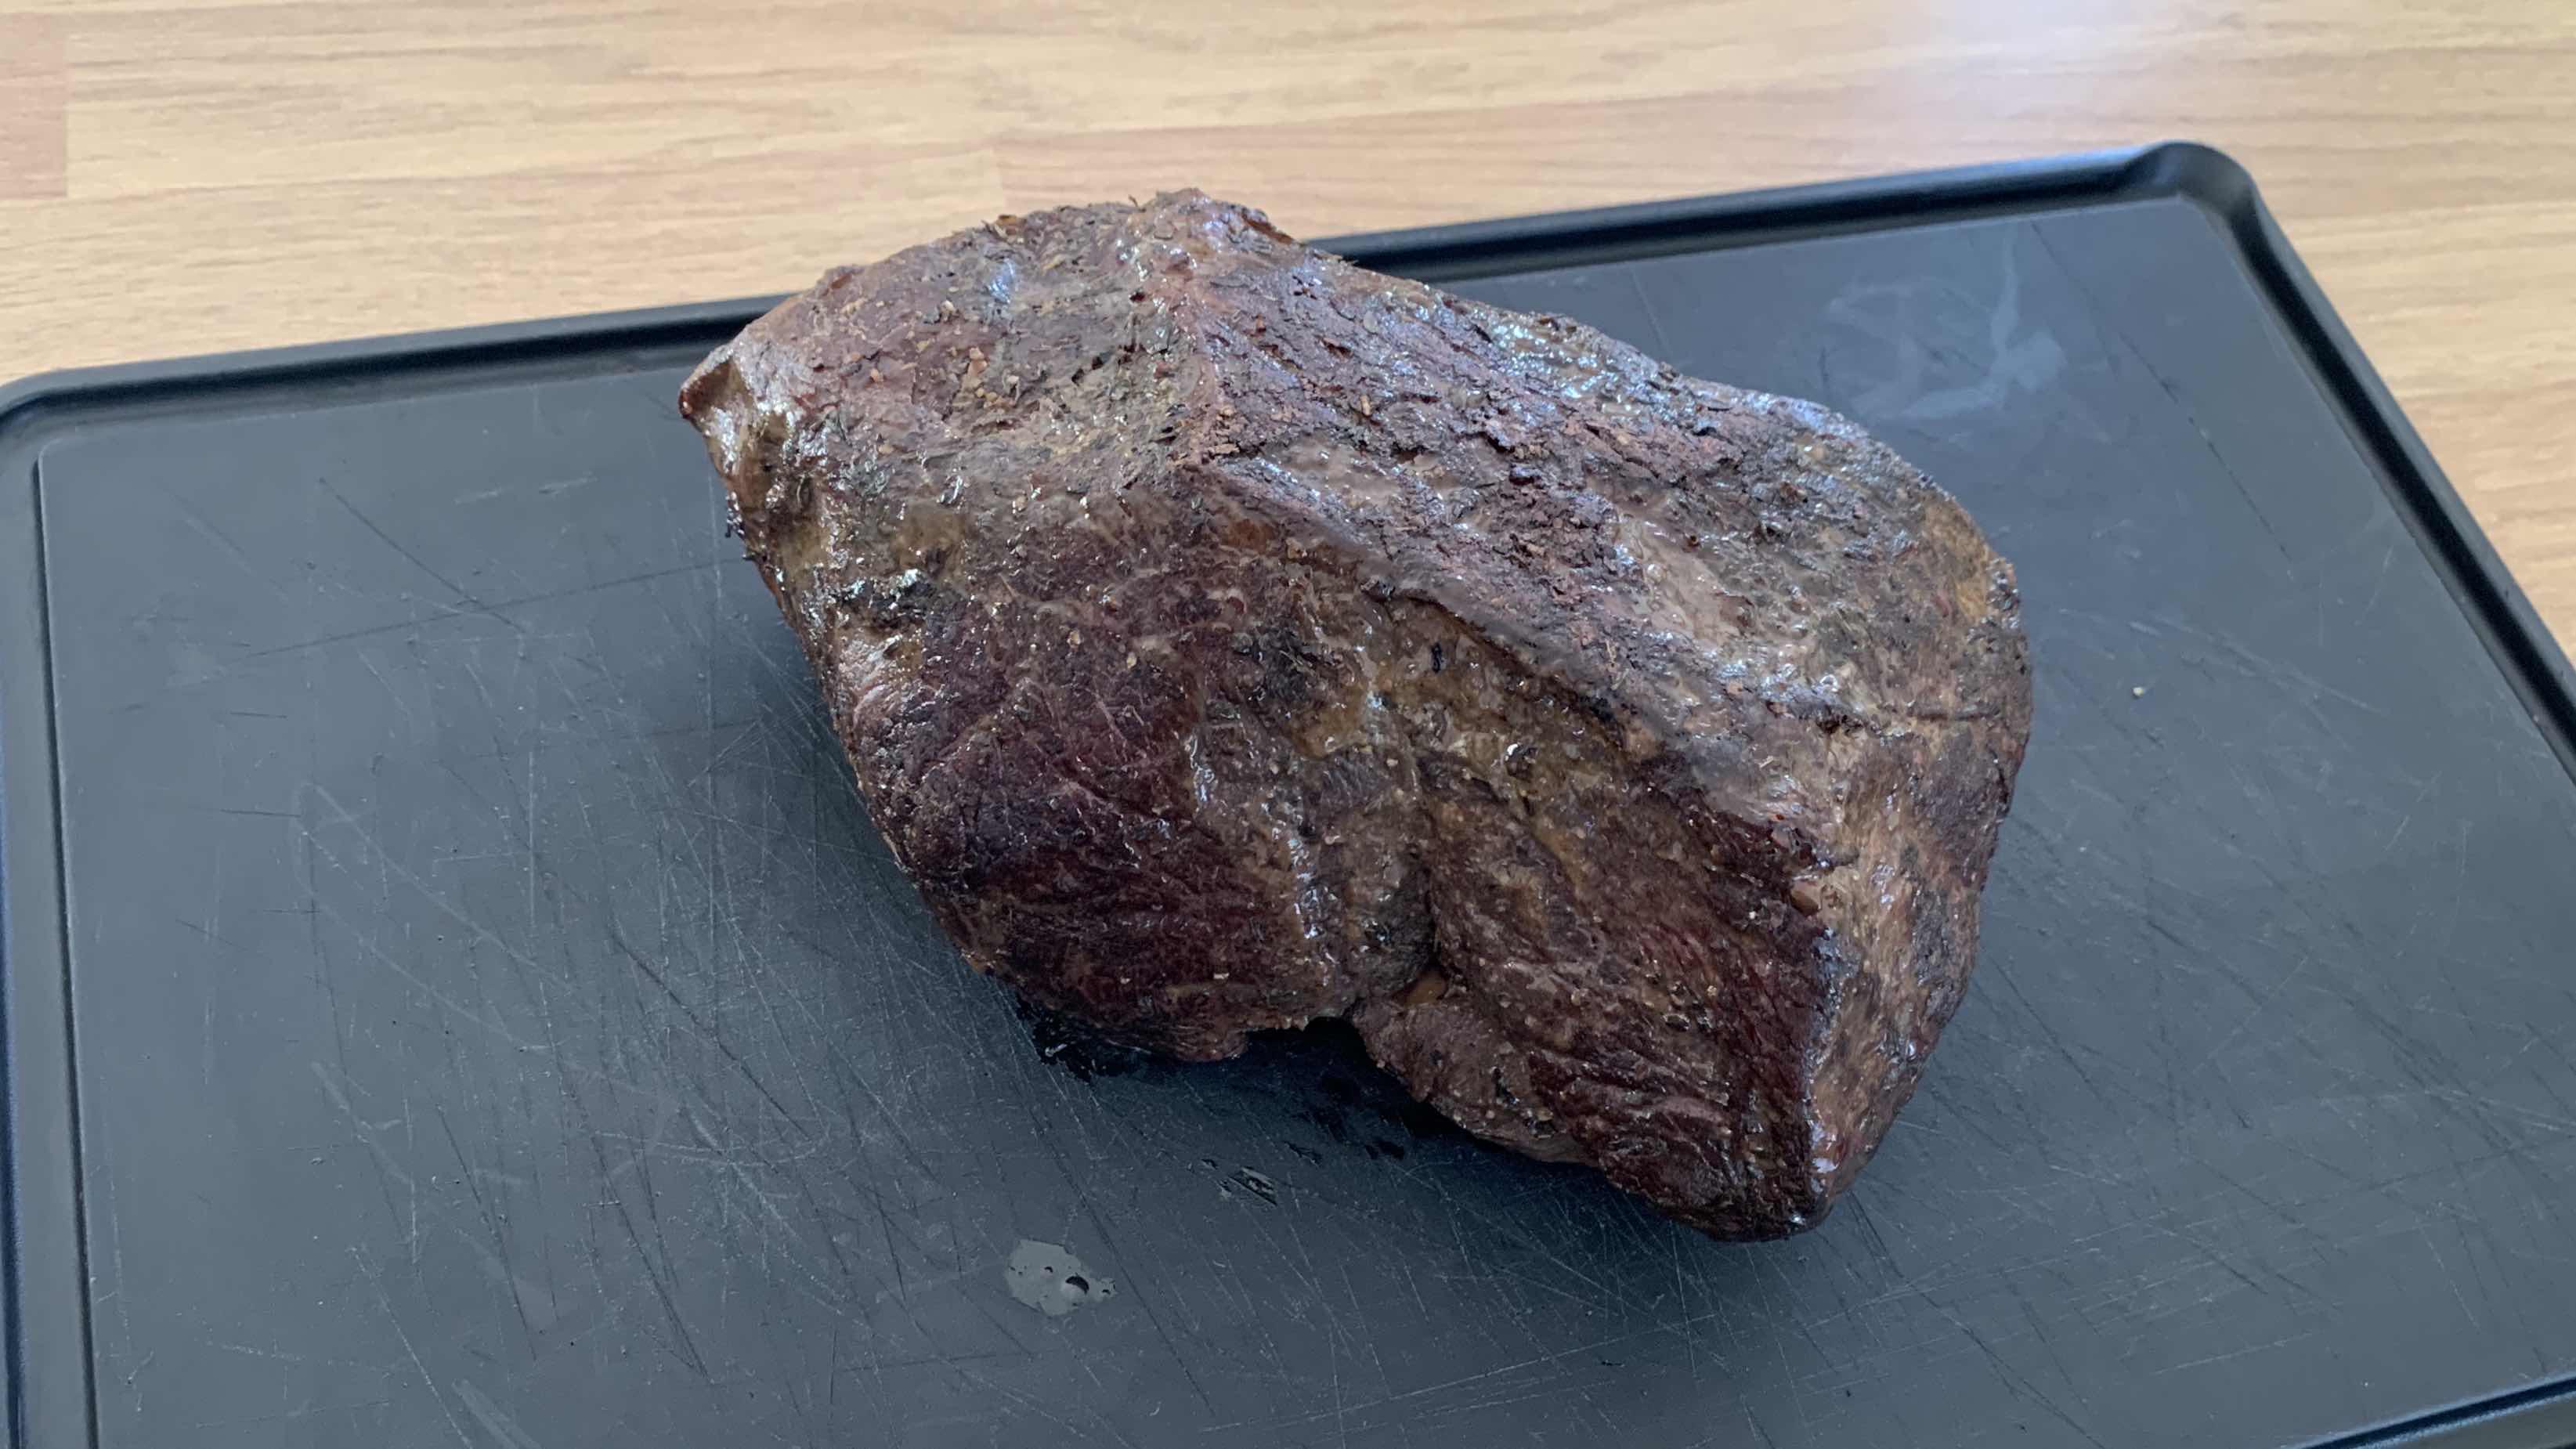
Step 1
Rest (optional) - If need be, you can rest the beef for up to 30 minutes while you finish any side dishes, although due to the nature of sous vide you don’t need to and can carve straight away. Personally I let it rest for 2-5 mins.
-
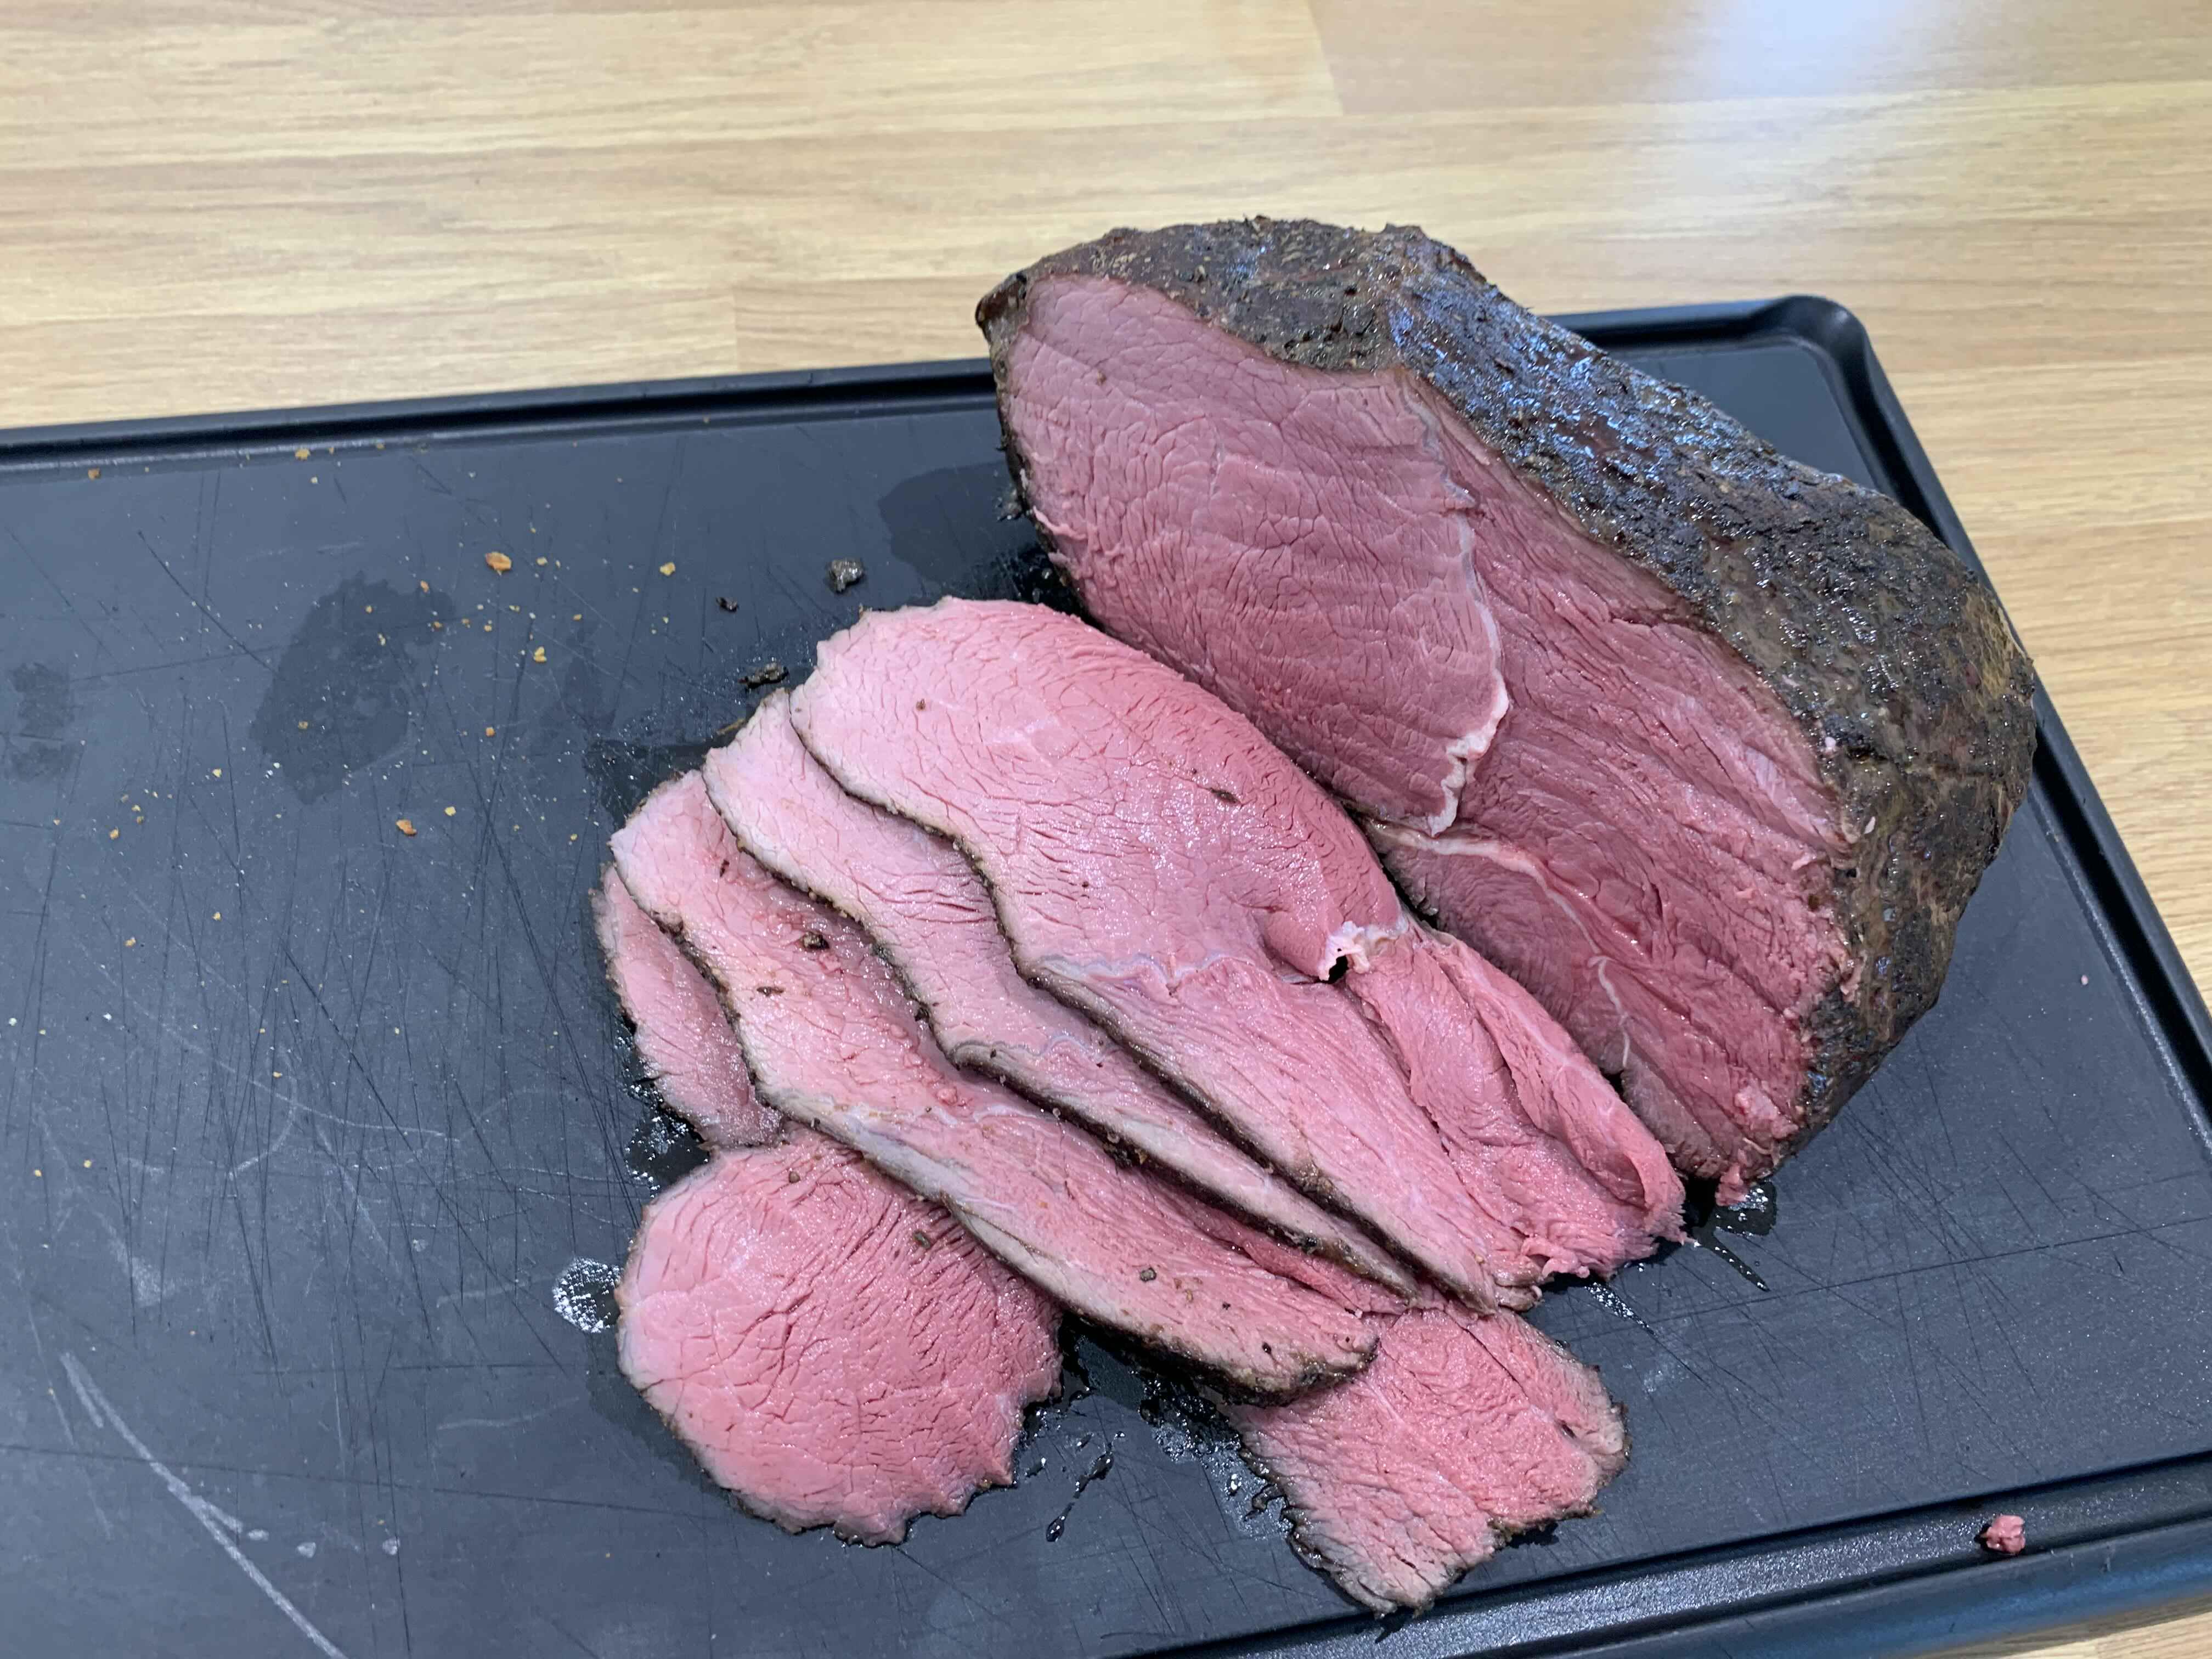
Step 2
Carve - Using a sharp knife, carve slices of the beef to the thickness you require. You should be seeing perfectly moist, juicy and tender beef that will melt in your mouth. Enjoy.
-
Step 3
Easy Gravy / Au Jus - Take a heat proof glass measuring jug and add as much of the bag juices as you like, then add boiling water until you have more than enough for all your guests. Now add granules of your favourite gravy mix to the jug (I use Bisto) until you get the consistency and thickness you like. Simple.